 Ferndale Roofing
 Windows Built for a Coastal Whatcom County Climate
Homes near Fairhaven sit close enough to the water that windows take a different kind of beating than they would a few miles inland. Salt-laden air works on metal hardware and cheap finishes year-round. Driving rain off the bay doesn't just hit the glass — it drives sideways into seams, sills, and corners that a lot of standard installations never account for. And the long stretch of wet, low-light months that Whatcom County gets every year means moss and mildew get a real foothold on anything that stays damp for more than a day or two, including window sills, tracks, and exterior trim.
None of that means Fairhaven homeowners need exotic products. It means the installation has to be done correctly the first time — proper flashing, proper sealing, and materials chosen for moisture exposure rather than just looks or price. This page is about that one job, done right, for this one area.
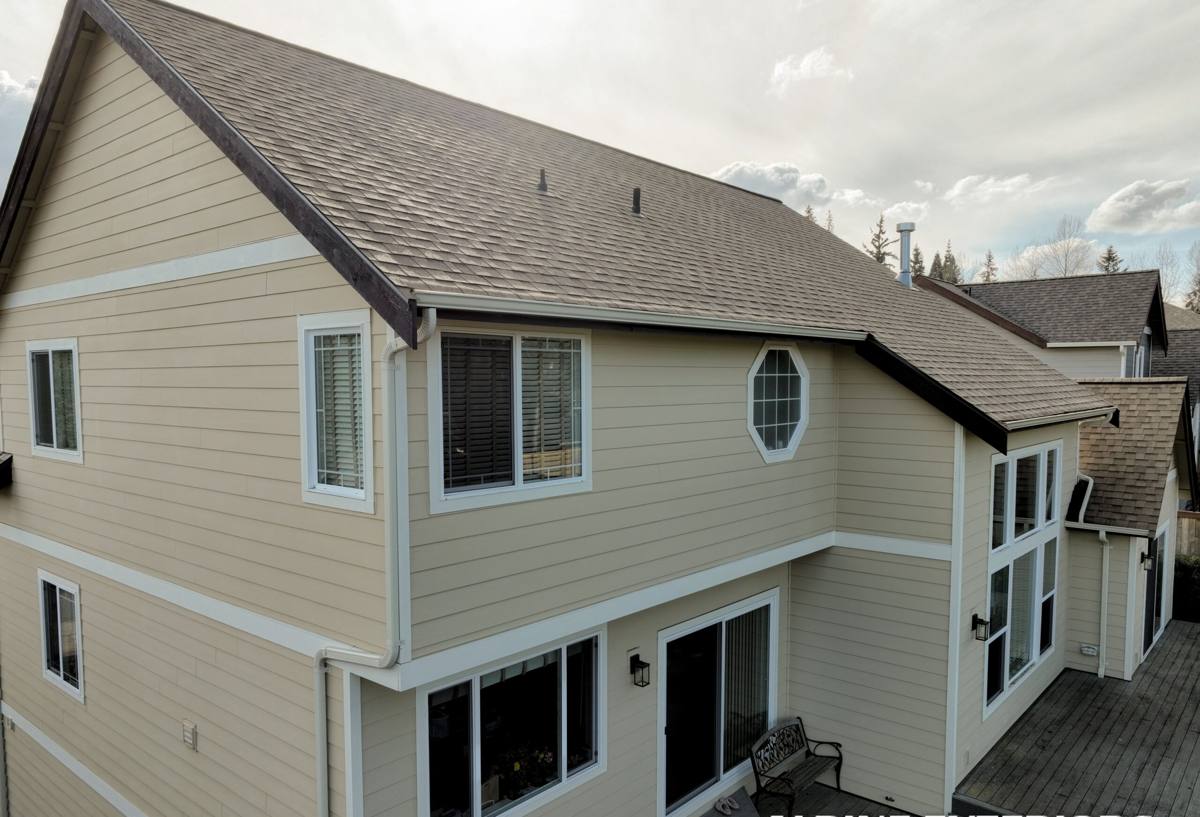
Signs Your Current Windows Are Losing the Fight
Before jumping to full replacement, it's worth knowing what coastal wear actually looks like on windows. Some of it is cosmetic. Some of it means water is already getting where it shouldn't.
- Fogging or condensation between panes — the seal has failed and the insulating gas is gone
- Soft, discolored, or spongy wood around the frame or sill
- Green or black growth collecting in the tracks or on the sill, even after cleaning
- Windows that stick, won't latch fully, or have gone out of square
- Noticeable drafts or a cold band of air near the frame in winter
- Corroded or stiff hardware — locks, cranks, or balances that used to move freely
A window can look fine from a few feet away and still be failing at the seal or the flashing behind the trim. That's the part homeowners can't easily check themselves, and it's where most long-term damage actually starts.
What a Correct Installation Actually Involves
Window installation gets treated as a simple swap — pull the old one, drop in the new one, caulk the edges. In a wet coastal climate, that shortcut is exactly what causes rot and leaks a few years down the road. A correct install is a sequence, and skipping a step doesn't show up until the damage is already inside the wall.
The steps that actually matter
- Removing the old unit without tearing out surrounding sheathing or siding more than necessary
- Inspecting the rough opening for rot, soft framing, or existing water staining before anything new goes in
- Installing or repairing the weather-resistive barrier so it laps correctly with the flashing — water has to be directed out, not trapped behind the wall
- Flashing the sill, jambs, and head in the right order (sill first, then jambs, then head) so each layer sheds water onto the one below it
- Setting the window level, plumb, and square, then shimming and fastening according to the manufacturer's instructions — this is what keeps a window operating smoothly for years instead of binding after one season
- Sealing and insulating the gap between the frame and the rough opening without overpacking it, which can bow the frame
- Finishing with exterior trim and sealant designed for sustained moisture exposure, not just a bead of standard caulk
Any one of these steps done wrong will eventually let water in — usually behind the trim, where it isn't visible until there's rot or a stain on the interior wall.
Choosing Materials for Salt Air and Constant Moisture
Material choice matters more here than it would in a drier, inland climate. Metal hardware, frame finishes, and even glazing seals age differently near the water. We talk homeowners through the honest trade-offs rather than pushing one product line.
| Frame Material | How It Handles This Climate | Maintenance Reality |
|---|---|---|
| Vinyl | Doesn't rot or corrode; handles moisture well | Low upkeep, but quality varies a lot by manufacturer |
| Fiberglass | Very stable in temperature and moisture swings, holds paint well | Higher upfront cost, minimal long-term maintenance |
| Wood | Best look for period or historic-style homes | Needs regular repainting/sealing to keep moss and rot off — a real commitment in this climate |
| Wood-clad (wood interior, metal/vinyl exterior) | Protects the exterior face from weather while keeping a wood interior | Cladding seams need to be installed and sealed correctly or moisture gets trapped underneath |
| Aluminum | Strong, but bare aluminum is prone to corrosion in salt air | Needs a quality factory finish; avoid unfinished or thin-mil aluminum near the water |
We don't install products we can't stand behind for coastal exposure. If a material has a known maintenance burden in this climate — bare wood being the clearest example — we say so up front instead of letting a homeowner find out the hard way after a couple of wet winters.
Glass and Pane Considerations
Double-pane windows are standard and work fine for most homes. Triple-pane adds another layer of insulation and can help with both energy bills and interior condensation on the coldest, wettest days — worth discussing on rooms that face prevailing wind and rain, less critical on sheltered exposures. Low-E coatings help with heat loss and UV fading regardless of pane count, and are worth having on nearly any coastal window.
Our Process, Start to Finish
We keep the process the same whether it's one window or a whole house, because skipping steps is how leaks happen later.
- On-site assessment — we look at existing windows, rough openings, and any signs of past water intrusion before quoting anything
- Honest recommendation — material and style options based on the home's exposure to wind and rain, not a one-size-fits-all pitch
- Careful removal — protecting interior finishes and existing siding as we take out the old units
- Rough opening repair — any rot or damage found gets fixed before a new window goes in, never covered up
- Correct flashing and sealing — sill, jamb, and head flashing installed in the right sequence for this climate
- Precise setting — level, plumb, square, and properly fastened so the window operates correctly for years
- Finish work — trim, sealant, and touch-up so the exterior looks finished and stays weathertight
- Walkthrough — we open, close, and lock every window with the homeowner before calling the job done
Mistakes We Regularly Find From Other Installations
A fair amount of our window work in this area is repair or replacement of installs that were done fast rather than done right. The patterns repeat:
- Caulk used as the only line of defense instead of proper flashing — caulk fails, flashing doesn't
- Housewrap or building paper cut but not lapped correctly, so water gets directed behind the barrier instead of over it
- Rot in the rough opening painted or trimmed over instead of repaired
- Windows shimmed unevenly, leading to operational problems and stress cracks in the glazing over time
- Exterior trim sealed with a standard caulk that isn't rated for constant wet exposure
Every one of these is invisible on install day and expensive a few years later. Doing it correctly the first time costs less than fixing rot damage down the line.
What Affects the Cost
We don't quote sight unseen, but these are the factors that move a window job up or down in price, so homeowners can plan realistically.
| Factor | Why It Matters |
|---|---|
| Number of windows | Per-window cost typically drops on larger jobs due to shared setup and material ordering |
| Frame material | Vinyl is generally the most affordable; fiberglass and wood-clad cost more upfront |
| Size and configuration | Large picture windows, bays, or custom shapes cost more than standard double-hung sizes |
| Condition of the rough opening | Existing rot or water damage adds repair time before the new window can go in |
| Access and height | Second-story or hard-to-reach windows take more labor and setup time |
| Full-frame vs. insert replacement | Full-frame replacement addresses flashing and structure but costs more than an insert swap into a sound existing frame |
Why a Crew That Already Works This Area Is Worth Having
Fairhaven's proximity to the water isn't a minor detail — it's the reason moss, salt corrosion, and wind-driven rain show up here faster than they would a few miles east. A crew that already works Whatcom County's coastal edge knows which exposures need extra attention to flashing, which materials hold up and which don't, and what local permitting and inspection requirements apply to window replacement. That familiarity means fewer surprises, fewer callbacks, and a job that's built for the conditions this specific area actually sees — not a generic install pulled from a drier climate's playbook.
Keeping New Windows Performing in This Climate
A correct installation is most of the battle, but a little seasonal attention keeps windows performing for the long haul near the coast.
- Clear moss and debris from sills and tracks before it holds moisture against the frame
- Rinse salt residue off frames and hardware periodically, especially after storms
- Check exterior sealant annually for cracking or gaps and have it renewed before it fails
- Keep gutters and downspouts clear so roof runoff isn't dumping extra water near window heads
- Operate locks and cranks a few times each season so hardware doesn't seize from disuse or corrosion
If your windows are fogging, drafty, sticking, or just original to a much older Fairhaven home, we're happy to take a look and give you a straightforward, no-pressure estimate — no guesswork, no upsell, just an honest read on what your home actually needs. Use the form below to get started.