 Ferndale Roofing
 New-Construction Windows Built for Marietta's Waterfront Climate
Marietta sits close to the water along Bellingham Bay, just outside Ferndale, and that location shapes everything about how windows should be installed here. Homes in this part of Whatcom County take on salt-laden air, wind-driven rain that comes in sideways off the bay, and long stretches of gray, damp weather that keep siding and trim wet for days at a time. On a new-construction project, the window installation is one of the few chances to get the water management right before walls are closed up. Get it wrong, and the problems don't show up until years later, hidden behind drywall or siding.
We install new-construction windows on homes throughout Ferndale and the surrounding communities, including Marietta, and the approach we use here is built around this specific climate — not a generic install method pulled from a drier region.
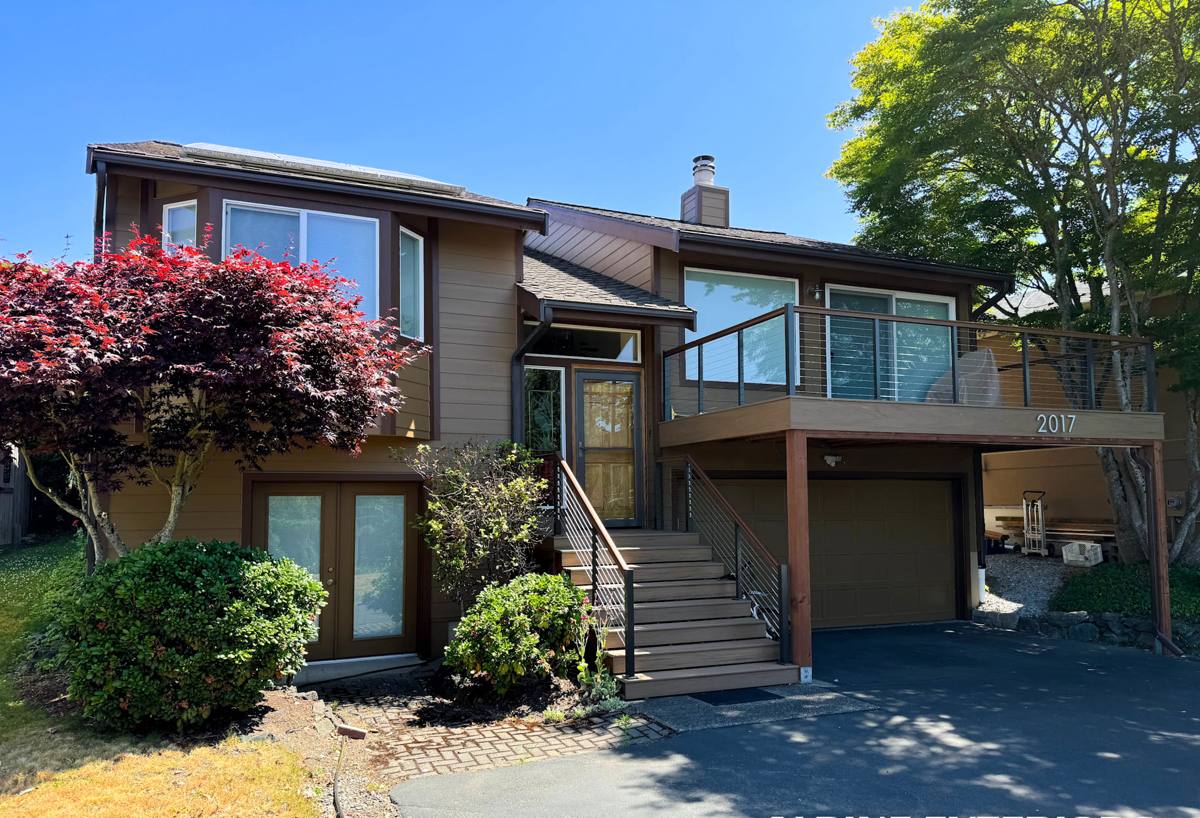
Why New-Construction Windows Are a Different Job Than Replacement
New-construction windows have a nailing fin (sometimes called a flange) around the perimeter of the frame. That fin gets integrated directly into the house wrap and flashing system before siding goes on, which is different from a pocket or "replacement" window that gets inserted into an existing frame. Because the whole wall assembly is open during a new build, this is the correct time to build a true drainage plane — one that assumes some water will get past the window eventually and gives it a clear path back out.
That's the real advantage of doing it right at the new-construction stage: every layer is accessible. There's no siding to work around, no old flashing to guess at, no finished interior trim to protect. It's also the stage where mistakes are cheapest to avoid and most expensive to fix later, since correcting a bad flashing job after siding and interior finishes are in place means tearing into finished work.
What "Correct" Actually Means Here
A correct new-construction window installation in a marine climate like Marietta's follows a specific order of operations, not just "caulk it and move on":
- Rough opening is checked for square, level, and correct size before the window ever arrives on site
- Sill pan flashing is installed first, sloped so any water that gets in drains back outward, not into the wall cavity
- Weather-resistive barrier (house wrap) is lapped correctly above the window head and behind the jamb flashing — shingle-style, so water always moves down and out
- Window is set, shimmed, and fastened per the manufacturer's structural requirements, not just "however it fits"
- Flashing tape or flexible flashing seals the nailing fin on the sides and top, with the bottom left as a drainage gap rather than fully sealed
- Sealant is applied at the interior air seal line, not just cosmetically around the exterior trim
Skipping or reordering any of these steps is how leaks happen — usually not right away, but after a few wet seasons once caulk shrinks or house wrap that was lapped backward finally lets water track downward into the sill.
What Marietta's Climate Asks of a Window Installation
Three conditions drive most of our decisions on window installs in this area:
Salt Air
Proximity to the bay means airborne salt settles on exterior surfaces and accelerates corrosion of unprotected metal fasteners, hardware, and some flashing materials. We pay attention to fastener and flashing compatibility so components near the water don't corrode faster than the rest of the assembly.
Driving Rain
Wind off the water routinely pushes rain sideways rather than straight down, which means it can reach parts of a window assembly that would stay dry in a calmer setting. Sill pan flashing and properly lapped house wrap matter more here than they would on a sheltered inland lot, because the assumption that "water only comes from above" doesn't hold on exposed sides of a home.
Long Moss Season
Extended damp, shaded conditions common to this part of Whatcom County keep moss and algae active for much of the year. On horizontal trim, window sills, and anywhere water can sit rather than shed, that moisture supports growth that holds dampness against wood and paint longer than it should. Detailing sills and trim so water sheds cleanly reduces how much of that growth takes hold in the first place.
Choosing Window Products for a Marietta New Build
Frame material and glazing package both affect how a window holds up in a coastal, high-moisture environment. We don't push a single product on every job — the right choice depends on budget, the home's design, and how exposed the specific elevation is to wind and rain.
| Frame Material | Coastal Performance | Maintenance | Typical Trade-Off |
|---|---|---|---|
| Vinyl | Good; won't corrode or rot | Low | Frame can flex on larger sizes; color choices limited |
| Fiberglass | Very good; stable in temperature swings, resists moisture | Low | Higher upfront cost than vinyl |
| Aluminum-clad wood | Good on the exterior face; interior wood needs protection from condensation | Moderate | Higher cost; relies on the cladding staying sealed |
| Bare wood | Weakest choice for direct salt-air and driving-rain exposure without diligent upkeep | High | Best traditional appearance, most upkeep |
For most new builds in Marietta, we steer clients toward vinyl or fiberglass on exposed elevations facing the water and wind, and reserve wood or clad-wood for more sheltered sides of the home where a client wants that look. This isn't a knock on any manufacturer's product — it's a maintenance and moisture-exposure judgment call based on where the window sits on the house.
Glazing matters too. A double-pane, low-E unit with an argon fill is standard for energy performance in our climate, and we typically recommend a slightly higher-performance glass package on north- and west-facing openings that catch the brunt of weather off the bay. Cost for a new-construction window installed, including flashing and materials, generally runs somewhere in the range of $700 to $1,500 per window depending on size, frame material, and glazing package — larger openings and higher-performance glass push toward the top of that range.
Our Process for New-Construction Window Installs
- Plan review: We check window schedules against the framing plan before the rough openings are even built, catching sizing or structural issues early.
- Rough opening verification: Once framing is up, we confirm every opening is square, plumb, and correctly sized before ordering or setting windows.
- Sill pan and flashing installation: Sloped sill pans go in first, followed by jamb and head flashing integrated with the house wrap.
- Window setting: Units are shimmed, leveled, and fastened to the manufacturer's structural spec — not just tacked in place.
- Exterior sealing: Flashing tape and sealant go on in the correct order, with drainage left open at the sill.
- Interior air sealing: Low-expansion foam or sealant closes the interior gap for draft and moisture control without bowing the frame.
- Final check: Every opening is inspected for operation, seal, and drainage path before siding closes the wall up for good.
That last step matters most on a new build — once siding goes on, a mistake in the flashing is hidden for years. We treat that final check as a hard gate, not a formality.
Common Mistakes We Catch on New-Construction Sites
Working new-construction sites regularly in this area, we see the same handful of errors turn up on jobs we're brought in to fix or inspect:
- House wrap lapped upside down or backward at the window head, letting water track behind it instead of over it
- Sill pan flashing skipped entirely, relying on caulk alone to keep water out
- Fully sealed sills with no drainage gap, trapping any water that does get in
- Fasteners or flashing metals that react with each other over time in a salt-air environment
- Windows shimmed unevenly, putting stress on the frame that shows up later as operational problems or seal failure
- Interior foam sealant overfilled, bowing the frame inward and affecting how the window opens and closes
Most of these aren't visible at final walkthrough. They show up two, five, or ten years later as a soft spot near a sill or a window that's suddenly hard to operate — which is exactly why getting the install right the first time matters more than fixing it after the fact.
Why a Marietta-Familiar Crew Makes a Difference
Window flashing details that work fine on a sheltered inland lot in Whatcom County aren't automatically adequate on an exposed site near the bay. A crew that already works in and around Marietta and Ferndale knows which elevations on a given lot take the worst of the wind and rain, how salt exposure changes fastener and flashing choices, and how the moss season here affects trim and sill detailing long after the crew has left the job site. That local pattern recognition is hard to replace with a generic installation checklist.
It also means we're not learning the area's quirks on your project. We've already seen how driving rain behaves on exposed walls near the water, and we build the flashing sequence around that reality rather than a textbook assumption.
After Move-In: Keeping New Windows Performing
New-construction windows installed correctly need very little attention, but a few habits help them hold up through Whatcom County's wet seasons:
- Rinse accumulated salt residue and debris off exterior frames and sills a couple of times a year
- Keep gutters and downspouts clear so roof runoff isn't dumping extra water onto window heads below
- Check exterior sealant lines annually for cracking or gaps, especially after the first year as materials settle
- Trim back vegetation that shades windows and keeps sills damp longer than necessary
None of this is heavy maintenance — it's the kind of upkeep that protects a correct installation rather than compensating for a poor one.
If you're planning a new build in Marietta or elsewhere around Ferndale and want window installation done right from the rough opening forward, we're happy to walk the plans with you and provide a free, no-pressure estimate using the form below.