 Ferndale Roofing
 New-Construction Windows Are a Different Job Than a Replacement
A lot of homeowners lump all window work into one category, but new-construction windows and replacement windows are installed differently, at different points in a build, and they carry different risks if the work is rushed. New-construction windows have a nailing flange around the perimeter of the frame and go into a rough opening while the wall is still open — before siding, before trim, and often before the house is fully wrapped. That timing is what makes the job either very easy to get right or very easy to get wrong, because once the siding closes over that opening, the flashing details underneath are hidden for the life of the house.
For a Cordata-area build near Ferndale, that first-pass install is the only chance anyone gets to build a proper water-management plane around every window before it's buried. There's no do-over once trim and siding are on. That's why we treat new-construction window installation as a sequencing and flashing job first, and a "put the window in the hole" job second.
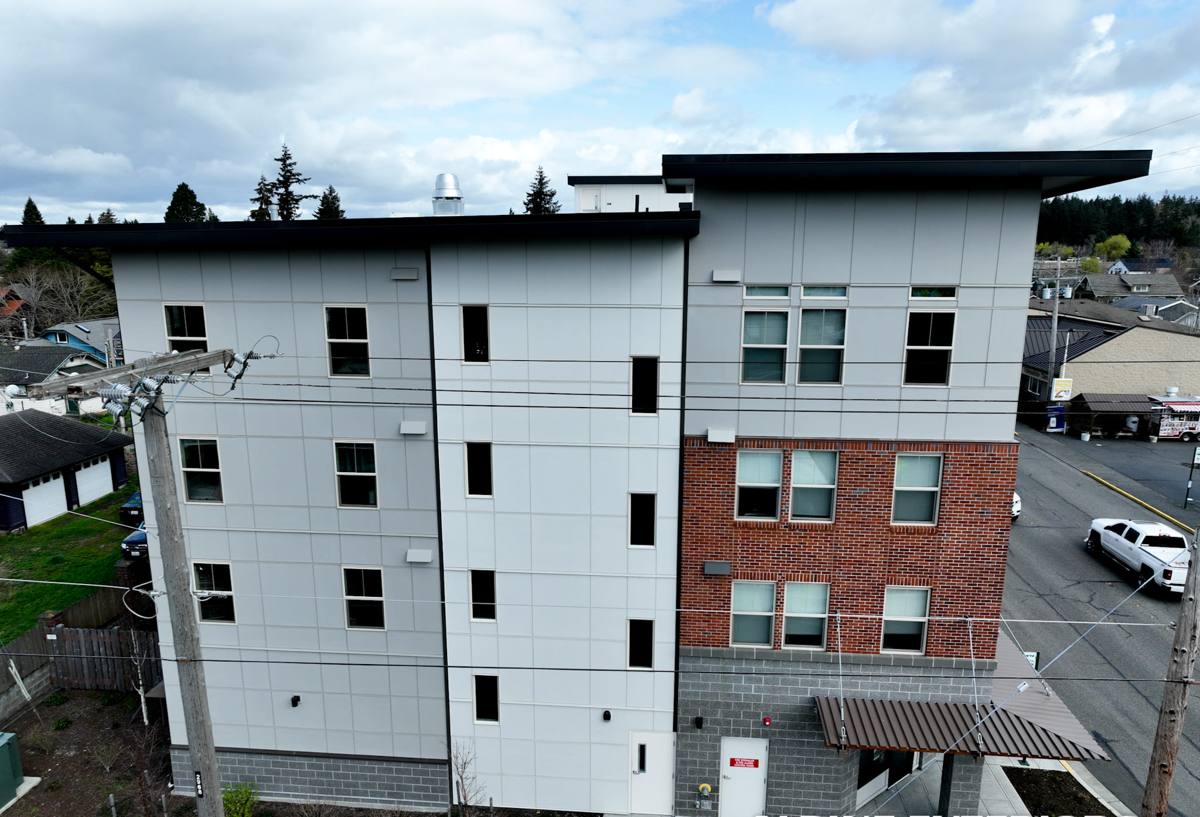
What This Climate Asks of a Window Opening
Whatcom County sits close enough to salt water that homes in and around Ferndale deal with salt-laden air working on exposed fasteners, hinges, and hardware over time. Add in driving rain that comes in sideways off the Sound during winter storms, and a moss season that stretches from fall through spring on shaded north- and west-facing walls, and you've got three separate stresses acting on every window opening in a new build, not just one.
Salt air accelerates corrosion on unprotected metal components — screws, cladding fasteners, and hardware that isn't rated for coastal exposure will show it years before it should. Driving rain doesn't just test the glass and frame; it tests the flashing behind the frame, because wind pressure can push water past a window that would otherwise shed rain fine in calm conditions. And moss and algae thrive in the shade and standing moisture that collects on sills, horizontal trim, and anywhere water is allowed to sit instead of drain. None of these show up as a problem on install day. They show up two, five, or ten years later, as soft trim, stained drywall, or a window that's suddenly hard to operate.
The Flashing Sequence We Follow
Getting a new-construction window right is mostly about the parts nobody sees again after the siding goes on. We follow the same water-shedding logic on every opening, regardless of window brand or size.
Sill Pan and Back Dam
Before the window ever goes in, the rough opening gets a sloped sill pan with a back dam — a small raised lip at the interior edge that stops any water that gets past the window from running into the wall cavity. Any water that does find its way in gets directed back out, not down into the framing.
Head and Jamb Flashing
Flashing at the jambs and head is layered shingle-style — each piece overlapping the one below it — and tied into the weather-resistive barrier (WRB) so water draining down the wall's face is shed over the window, never trapped behind it. The head flashing is the piece most often skipped or done poorly on rushed jobs, and it's usually the first thing that fails in wind-driven rain.
Sealant — Where It Belongs, and Where It Doesn't
Sealant is a backup, not a strategy. We use it where the manufacturer's instructions call for it and skip it where it would trap moisture instead of letting it drain — caulking the bottom of a window flange shut is one of the more common mistakes we see on other builders' work, because it seals in any water that does get past the glass instead of giving it a way out.
Choosing a Frame Material for a Marine Climate
Material choice matters more here than in a drier inland climate, because whatever you pick is going to face moisture and salt air for decades. There's no single right answer — it depends on budget, maintenance appetite, and the look you want — but the trade-offs are worth understanding before you decide.
| Frame Material | Moisture & Salt Tolerance | Maintenance | General Cost Tier |
|---|---|---|---|
| Vinyl | Good — won't rot or corrode; seams and hardware are the weak point | Low — occasional cleaning | Lower |
| Fiberglass | Very good — dimensionally stable in wet/dry cycling, resists corrosion | Low | Mid to higher |
| Wood-clad | Depends heavily on cladding and detailing quality; interior wood needs protection from any interior moisture | Higher — finish and sealant checks over time | Higher |
| Aluminum | Weak without a thermal break; prone to condensation and corrosion near salt air | Moderate | Varies |
We don't push one brand or material on every project. What we won't do is install a system into this climate without confirming its hardware and cladding are rated for coastal, high-moisture exposure — that's a professional standard we hold regardless of what's cheapest on paper.
Our New-Construction Window Process
- Plan review: We review window schedules and rough opening sizes with the builder or homeowner before anything is ordered, catching sizing or product mismatches early.
- Rough opening check: On site, we verify openings are square, level, and correctly sized before install day — a bad rough opening causes problems no window can fix later.
- Sill pan and flashing prep: Sill pans, back dams, and jamb flashing go in first, tied into the WRB already on the wall.
- Window set and fastening: Windows are shimmed, squared, and fastened per manufacturer specifications — nailing patterns matter for both structural performance and warranty coverage.
- Head flashing and integration: Head flashing is installed last in the sequence, shingle-lapped over the WRB above.
- Coordination with siding and trim crews: We time our work so siding and trim crews aren't covering flashing before it's inspected.
- Final check: Every opening gets a final look before it's closed in, including hardware operation and a visual check of the completed flashing plane.
Common New-Construction Window Mistakes
Most window problems in newer homes trace back to a handful of repeatable mistakes made during the original install — usually from rushing the sequence rather than from a bad window itself.
- No back dam on the sill pan, so any water that gets past the window has nowhere to go but into the wall
- Head flashing skipped or installed under the WRB instead of over it
- Caulk used as the primary water barrier instead of proper flashing
- Nailing flange fastened with the wrong pattern or spacing, weakening the seal and voiding manufacturer warranty terms
- Windows installed out of square, causing hardware to bind or fail early
- Siding installed over flashing before it's been checked or before it's fully integrated with the WRB
- Hardware and fasteners not rated for coastal, salt-air exposure
Why a Crew That Already Works Cordata Matters
New-construction window work in Whatcom County isn't identical to the same job in a drier, inland climate. A crew that regularly works in and around Ferndale already accounts for the direction wind-driven rain typically comes from on exposed walls, how long moss season runs on shaded elevations, and what salt air does to hardware over a normal Pacific Northwest winter. That local familiarity shows up in small decisions — flashing lap direction, hardware selection, where extra attention goes on north- and west-facing walls — that a crew unfamiliar with this specific climate might not think to prioritize.
It also matters on the scheduling side. New-construction window installs have to fit into a builder's timeline between framing, WRB, and siding — a crew that's coordinated with local builders and is familiar with Whatcom County's inspection process tends to keep that sequence moving without gaps that leave flashing exposed to weather longer than it should be.
Protecting the Investment Through Moss Season
A correctly installed new-construction window shouldn't need much attention, but a little seasonal awareness goes a long way in this climate. Keep weep holes at the base of the frame clear of debris so water has somewhere to go. Make sure nearby gutters and downspouts are directing roof runoff away from window heads rather than sheeting down the wall above them. On shaded sides of the house, check sills and horizontal trim periodically during moss season and clean off buildup before it holds moisture against the frame. None of this is heavy maintenance — it's the kind of five-minute check that keeps a well-installed window performing the way it was designed to for decades.
If you're planning a new build or addition in the Cordata area and want windows installed the way this climate actually requires, we're happy to walk through your plans and give you a straightforward, no-pressure estimate. Use the form below to get started.