 Ferndale Roofing
 Storm Damage Roof Repair Built for Blaine Conditions
Blaine sits about as close to the water and the Canadian border as a Whatcom County roof can get, and that position shapes exactly what kind of storm damage shows up here. Winter systems come off the Strait of Georgia carrying wind-driven rain that doesn't fall straight down so much as get pushed sideways and up under roof edges, shingle tabs, and flashing laps. Salt-tinged marine air sits on exposed metal and fasteners year-round, quietly accelerating corrosion in places a homeowner never looks. And a long, damp moss season keeps north-facing and shaded roof planes wet for months at a stretch, softening the surface a storm eventually tears into. None of this is unique to any one storm event — it's the baseline condition Blaine roofs live in, and it's why storm damage here often looks different, and gets missed more easily, than storm damage in a drier or more sheltered part of the county.
This page covers what storm damage actually looks like on a Blaine roof, how a correct repair is diagnosed and executed, and how our process works from the first call to the final walkthrough. It's written for homeowners who just went through wind or a heavy rain event and aren't sure yet whether they have a real problem or a minor cosmetic issue.
Why Blaine Storm Damage Is Easy to Underestimate
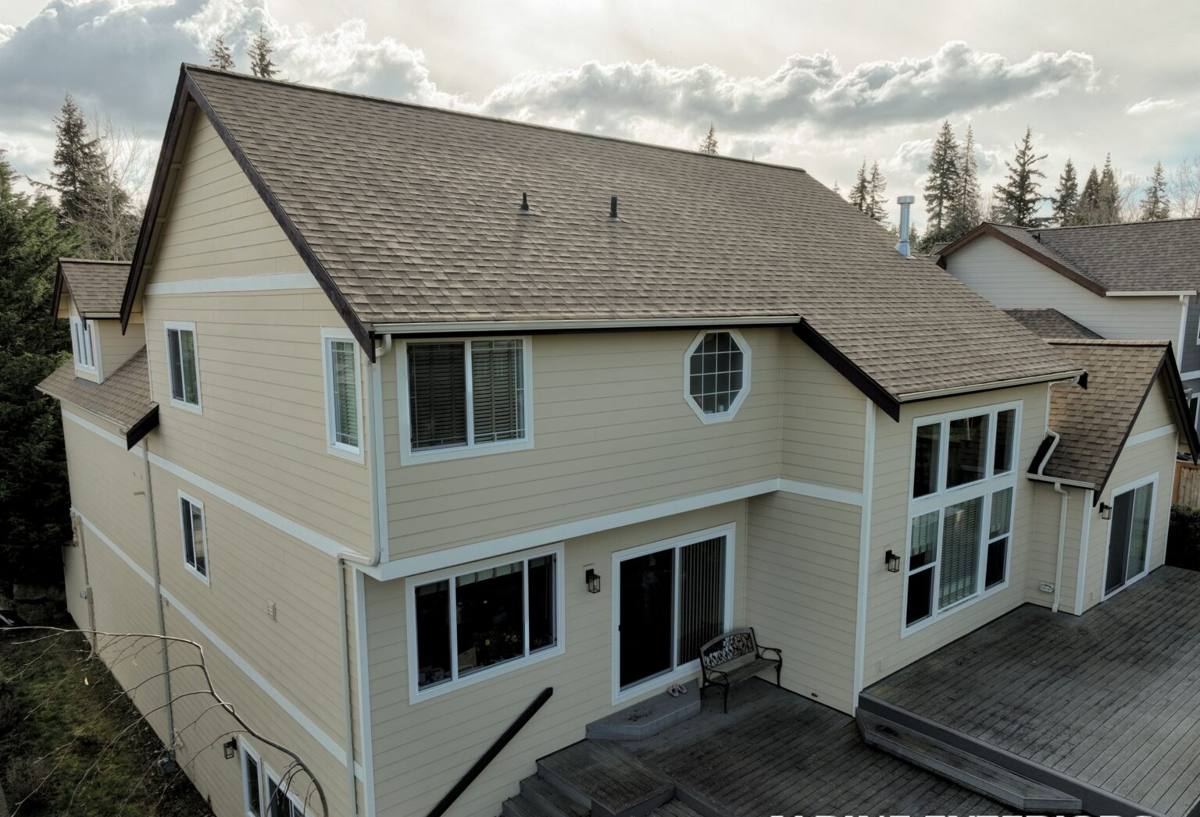
A lot of storm damage in this area doesn't announce itself with a dramatic hole or a pile of shingles in the yard. More often it's a handful of lifted or cracked tabs near a ridge, a flashing seam that got worked loose by wind flex, or granule loss on a slope that took the brunt of the gusts. None of that looks urgent from the ground. The problem is that Blaine's climate turns small storm damage into bigger problems faster than a drier region would, because wind-driven rain finds any opening the storm created and pushes water into it repeatedly through the following weeks, rather than one dry season giving the roof time to reset.
The other factor is timing. A storm that hits in November or December is followed by months of the same wet, low-sun conditions that grow moss and keep surfaces damp — exactly the environment where a small breach turns into sheathing rot or a stained ceiling before anyone notices from the outside. Homes near the water in Blaine also take a harder wind load than more sheltered inland properties, which means fastener pull and flashing displacement tend to be more common here than in parts of the county set back from open water.
Common Storm Damage Patterns We See in This Area
- Lifted or creased shingle tabs along ridges and hips, where wind gets underneath and breaks the seal without necessarily tearing the shingle off entirely.
- Flashing displaced at valleys, chimneys, and wall intersections from repeated wind flex, opening a gap that only leaks during the next driving rain.
- Granule loss on wind-exposed slopes, which thins the shingle's protective layer even when the shingle itself is still intact.
- Fastener backing out on roofs where the original nailing pattern wasn't tight enough for sustained coastal wind loads.
- Moss-softened decking discovered during repair on shaded slopes, where storm damage exposes a moisture problem that was already underway before the storm hit.
- Gutter and edge metal damage that redirects water into the fascia or soffit instead of away from the house.
What a Correct Storm Damage Assessment Involves
A proper storm damage inspection isn't a walk around the yard looking up. It starts on the roof itself, checking every slope for lifted, cracked, or missing shingles, then moving to the details that actually determine whether water is getting in: flashing at every penetration, valley condition, ridge cap integrity, and the fastening pattern on the slopes that took the most wind. We also check the attic or roof deck from underneath where accessible, because a stain on a ceiling is often the last sign of a leak that's been running for weeks, not the first.
Because Blaine's moss season runs long, we also flag any soft, spongy, or discolored decking we find during a storm inspection even if it isn't directly related to the storm event that prompted the call. Repairing storm damage without addressing decking that was already compromised by moisture just means paying for the same repair again sooner than necessary.
What We Document Before Any Repair Starts
- Photos of every area of damage, useful both for our own repair planning and for any insurance claim you may file.
- A written scope describing exactly what's damaged, what's original wear versus storm-caused, and what repair each item needs.
- An honest read on whether the damage is a targeted repair or a sign the roof is closer to needing full replacement regardless of the storm.
- A straightforward cost range before any work begins, with anything discovered mid-repair communicated before we proceed, not after.
How the Repair Process Works
Once we know what's damaged, the sequence matters as much as the materials. Any exposed decking gets addressed first — replacing anything soft or rotted rather than repairing over it, since that's the one step that determines whether the rest of the repair actually holds. From there we re-flash any displaced or damaged metal using corrosion-resistant material appropriate for a marine-air environment, replace shingles in the affected area with matching product where possible, and reset fastening in a pattern built for sustained coastal wind rather than a generic nailing schedule. Underlayment in the repaired section gets upgraded to a wind-driven-rain-rated product where the existing underlayment isn't performing, since that layer is what actually stops water once wind has already gotten past the shingle surface.
We finish every storm repair with a check of adjacent areas — gutters, downspouts, and edge metal — since storm damage rarely stops cleanly at the shingles. A repair that fixes the roof but leaves a damaged gutter dumping water against the fascia just trades one problem for another.
Repair Sequence at a Glance
- On-roof and attic-side inspection to confirm the full extent of damage.
- Written scope and cost range provided before work begins.
- Decking repair or replacement first, wherever moisture has compromised it.
- Flashing replaced with corrosion-resistant metal at all affected penetrations and valleys.
- Shingle replacement matched as closely as possible to existing material.
- Fastening reset to a pattern suited for sustained coastal wind.
- Underlayment upgraded in the repair area where the original wasn't performing.
- Gutters, downspouts, and edge metal checked and corrected as needed.
- Final walkthrough with photos and a written summary of what was done.
Repair vs. Replacement: How We Make the Call
Not every storm-damaged roof needs to be replaced, and not every roof that looks fine from the ground is actually a good repair candidate. The decision comes down to how much of the roof's remaining service life is intact versus how much of the damage is concentrated versus spread across the whole surface. A roof with isolated wind damage and decades of remaining life left in the rest of the material is usually a straightforward repair. A roof that was already showing granule loss, moss intrusion, and aging flashing before the storm hit is often better served by putting repair dollars toward replacement instead, since a patched-together older roof tends to need repeat visits.
| Factor | Favors Repair | Favors Replacement |
|---|---|---|
| Extent of damage | Isolated to one or two slopes | Spread across multiple slopes or the whole roof |
| Age of existing roof | Under roughly half its expected service life | Near or past its expected service life |
| Decking condition | Solid, dry decking found during inspection | Soft or rotted decking in multiple areas |
| Moss and staining history | Minimal prior moss or algae staining | Heavy, long-standing moss or algae coverage |
| Shingle match availability | Discontinued product not a concern, or close match available | Original shingle discontinued with no reasonable match |
| Number of prior repairs | First real repair needed | Multiple past repairs on the same roof |
Insurance and Documentation
Many Blaine storm repairs involve a homeowner's insurance claim, and the single biggest factor in how smoothly that goes is documentation quality. We photograph damage before touching anything, keep a written record of what we find versus what we repair, and provide a clear, itemized scope that an adjuster can follow. We're not a public adjuster and don't negotiate your claim for you, but we'll give you accurate, honest information about what's storm damage and what's pre-existing wear, since that distinction matters for how a claim gets evaluated. Overstating damage to inflate a claim isn't something we'll do, and we'd encourage skepticism of any contractor who offers to.
Why a Blaine-Familiar Crew Matters for This Kind of Work
Storm damage repair rewards local familiarity in a way that general roofing work doesn't always. Knowing which wind direction typically drives a given storm system through this part of Whatcom County, which roof orientations in Blaine tend to take the worst of it, and how quickly moss re-establishes on shaded slopes after a repair all shape how we assess and prioritize a job. A crew that only occasionally works this area is more likely to treat a Blaine roof like a generic repair and miss the details that actually matter here — corrosion-resistant fastener choice, wind-driven-rain underlayment, and decking that was already softening before the storm made it visible.
We also know that storm damage repairs are often time-sensitive. A roof with exposed decking or displaced flashing doesn't get better while a homeowner waits for a distant crew's schedule to open up. Being a Ferndale-based crew that already works Blaine regularly means a faster on-site assessment and a repair scheduled around real urgency rather than a full mobilization from somewhere else.
What to Do Right After a Storm, Before We Arrive
- Do not get on the roof yourself, especially after rain — wet shingles and moss-covered surfaces are genuinely dangerous underfoot.
- Check attic spaces or upper-floor ceilings for new staining, dampness, or a musty smell, and note the location.
- Photograph any visible damage from the ground, including debris in gutters or on the lawn.
- Place a bucket under any active interior leak and move belongings out of the drip path.
- Avoid tarping the roof yourself unless you're experienced working at height in wet conditions — a poorly secured tarp can create new damage in the next windstorm.
- Call for an inspection promptly rather than waiting to see if it "dries out fine," since Blaine's follow-on wet weather rarely gives a small breach time to self-resolve.
Materials and Workmanship Standards We Hold to Here
For storm repair work in this specific environment, we default to corrosion-resistant flashing metal and fasteners rather than standard-grade material, because the cost difference is modest and the failure mode of cheap metal near salt air is a repeat leak in a few years, not a one-time expense avoided. We use wind-driven-rain-rated underlayment in repaired sections when the existing underlayment is under-performing, since that's the layer doing the real work once wind has already pushed water past the shingle surface. And we match shingle product as closely as realistically possible so a repair doesn't stand out as an obvious patch — though on older roofs with discontinued product, an exact match sometimes isn't available, and we'll tell you that plainly rather than pretend otherwise.
Get an Honest Look at the Damage
If your Blaine home came through a storm with lifted shingles, a new leak, or damage you're not sure how serious it is, we'll come take an honest look and tell you plainly what we find — repair or replacement, no pressure either way. The estimate is free, and there's no obligation to move forward. Fill out the form below to get a crew that already works this area out to your roof.