 Ferndale Roofing
 Building New Near Sumas? Your Windows Need to Be Right the First Time
If you're framing a new home in or around Sumas, the windows are one of the few components that get exactly one chance to be installed correctly. Once the siding goes up and the interior trim is in, a poorly flashed window becomes a hidden problem — one that usually doesn't show itself for a year or two, and by then the fix means tearing into finished walls. Whatcom County's climate doesn't forgive shortcuts here. Between salt-laden air moving in off the coast, long stretches of driving rain, and a moss season that keeps everything damp for months at a time, any gap in a window's water management detail eventually finds its way to the framing.
New-construction window installation is a different job from replacing an old window in an existing wall. It happens earlier in the build sequence, it's tied directly to how the weather-resistive barrier and flashing are sequenced, and it sets the moisture-management foundation for the entire wall assembly. Get it right and the window becomes a non-issue for decades. Get it wrong and it becomes the reason for a rot repair a few owners down the line.
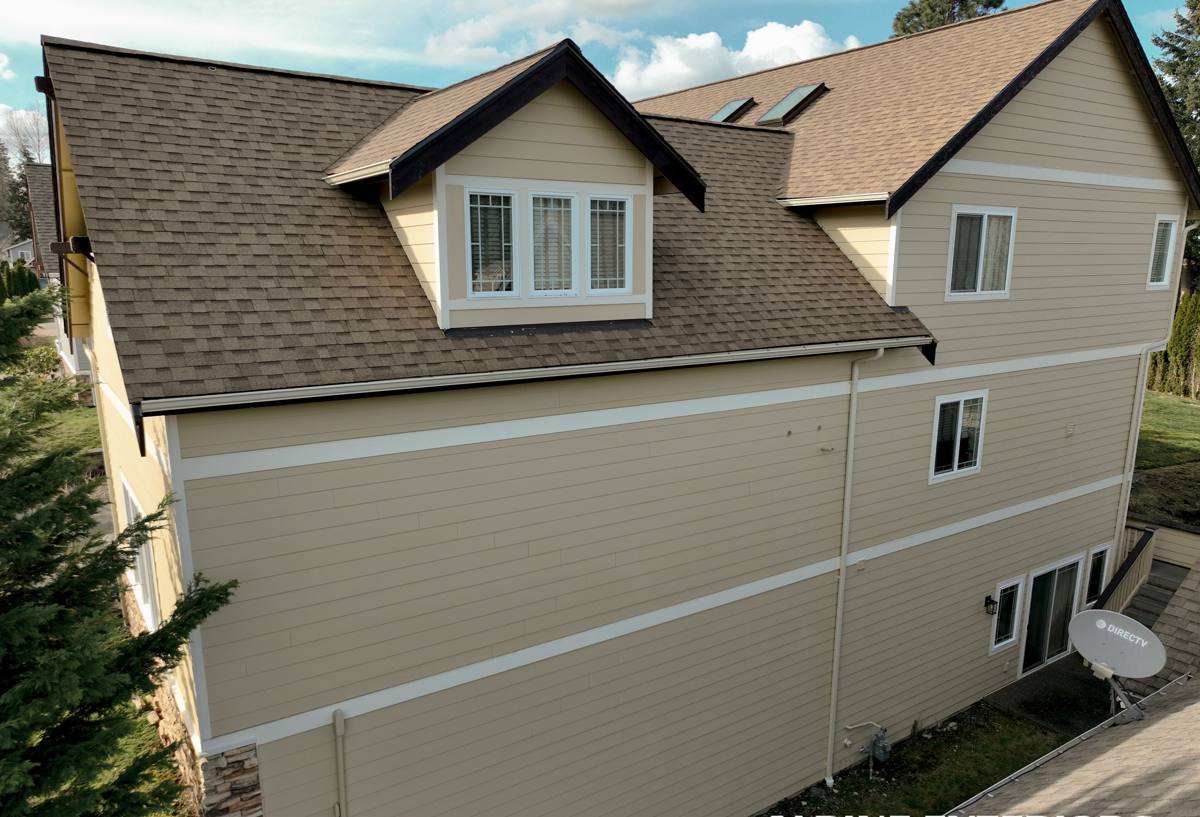
New-Construction vs. Replacement: Why the Install Method Is Different
A lot of homeowners assume a window is a window, but the installation method depends entirely on what stage of construction you're in.
New-Construction (Nail-Fin) Windows
These windows have a flange around the perimeter that gets fastened directly to the sheathing before the weather-resistive barrier and siding go on. Because the wall is open, we can integrate the window fully into the drainage plane — sill pan flashing, jamb flashing, and head flashing all layer correctly with the house wrap, shingle-style, so water is always directed outward and down, never into the wall cavity.
Why This Matters More in a New Build
New construction is the one point in a home's life where every layer of the water-management system — sheathing, sill pan, flashing tape, WRB, and siding — can be installed in the correct order, overlapped correctly, with nothing hidden or worked around. Once the framing is closed up, that opportunity is gone. That's the whole case for hiring a crew that treats this step as more than "screw the window in and move on."
What a Correct Install Actually Involves
A proper new-construction window install in a wet marine climate like ours follows a specific sequence. Skipping or reordering any of these steps is how leaks start.
- Rough opening prep — squaring the opening, checking for level and plumb, and confirming dimensions match the window unit before it ever arrives on site.
- Sill pan flashing — a sloped, back-dammed pan at the bottom of the opening so any water that does get past the window has a path back out, rather than sitting on the sill and soaking into framing.
- Jamb and head flashing — installed in the correct shingle-lap order so every layer sheds water onto the layer below it, never behind it.
- Setting the window — shimmed square and plumb, fastened per the manufacturer's schedule, with the nail fin bedded in sealant or flashing tape, not just face-nailed.
- Weather-resistive barrier integration — the WRB is cut, folded, and taped back over the flashing so the window becomes part of the continuous drainage plane rather than a hole in it.
- Interior air-sealing — a continuous bead of low-expansion foam or sealant around the interior perimeter, which does double duty for energy efficiency and keeps interior humidity from condensing inside the wall cavity.
Every one of those steps is inspectable at the time it's done and essentially invisible once the wall is closed up. That's exactly why it needs to be done right the first time, not caught later.
Choosing Windows for a Coastal, Wet Whatcom County Build
Product choice matters, but it matters less than installation quality — a mid-grade window installed correctly will outperform a premium window installed poorly. That said, a few decisions are worth making deliberately for this climate.
| Frame Material | How It Handles Our Climate | Trade-Off |
|---|---|---|
| Vinyl | Good moisture resistance, low maintenance, competitive cost | Lower-end lines can flex or discolor over decades in constant damp/UV cycling |
| Fiberglass | Very stable in temperature and moisture swings, holds paint well | Higher upfront cost than vinyl |
| Wood-clad | Warm interior appearance, exterior clad face resists weather | Any breach in the cladding exposes wood to the same rot risk as bare wood — flashing detail is critical |
| Aluminum | Strong and slim sightlines | Poor thermal performance and prone to condensation unless thermally broken — we generally steer clients away from it for this reason in our climate |
For glazing, we typically recommend a low-E, argon-filled dual-pane unit as the baseline for new construction here, with U-factor and solar heat gain coefficient numbers that meet current Washington State Energy Code requirements for our climate zone. Triple-pane is worth considering on north- or west-facing walls that take the brunt of the weather, but it's a comfort and efficiency upgrade more than a moisture-management one — the flashing detail is what actually keeps water out, regardless of glass package.
Our Process on a New Build
Coordinating With Your Builder or Framer
On most new-construction jobs we're working alongside a general contractor or framing crew, not replacing their work. We coordinate timing so windows go in once the sheathing and rough openings are ready but before siding starts, and we communicate directly with the builder about flashing sequence so nothing gets covered up before it's inspected.
Site Walk and Opening Check
Before any window is set, we walk every rough opening — checking squareness, sheathing condition, and that dimensions match the ordered units. Catching a framing issue at this stage costs an hour. Catching it after the window is installed costs a lot more.
Install and Documentation
We install in the sequence above, and we document flashing and sill pan work with photos before the WRB and siding cover it — useful for your own records and for any future inspection or resale question about how the building envelope was built.
Final Check
Once siding is on, we do a final pass to confirm operation, seal lines, and trim are clean and that nothing shifted during the rest of the build process.
Common Problems We See in New Builds Across the Area
Most window callbacks we get on newer homes trace back to a handful of repeat issues, not product defects:
- Sill pan flashing skipped or improvised with caulk instead of a real sloped pan
- WRB taped over the nail fin instead of properly shingle-lapped, trapping water behind the window
- Window fastened before the opening was checked for square, leading to operational problems (hard-to-close sashes, uneven reveals) that show up months later
- Interior air-sealing skipped, leading to condensation inside the wall cavity during our cold, damp winters
- Flashing tape applied to dusty or damp sheathing, which prevents proper adhesion even though it looks fine on install day
None of these are visible once the siding's up. That's the core reason to have someone experienced doing this specific step, not just whoever is fastest with a drill.
A Homeowner's Walk-Through Checklist
If you're managing your own build or just want to know what to ask about, this covers the basics worth confirming before your walls get closed in:
- Is there a dedicated sill pan under every window, not just caulk at the sill?
- Is the WRB integrated with the flashing in proper shingle-lap order, top layer over the one below?
- Are rough openings checked for square before the windows are set?
- Does the installer have photos of the flashing detail before it's covered by siding?
- Do the window's U-factor and SHGC ratings meet current Washington State Energy Code for our zone?
- Is the interior perimeter air-sealed, not just foamed for looks?
Why a Local Crew That Already Works This Area Matters
Sumas sits inland from the coast but still sees the same long wet season and wind-driven rain events that define weather across Whatcom County, and a crew that works this region regularly knows how local builders sequence their framing, what inspectors here are looking for, and how our winters actually stress a building envelope — not just what a manufacturer's install manual says in general terms. Building here means allowing for a wetter, longer shoulder season than a lot of standard installation guidance assumes, and detailing accordingly rather than treating every wall assembly as a generic textbook case.
Being local also means we're not disappearing after the final draw. If a builder or homeowner has a question two years after move-in, we're still the same company, working the same area, reachable the same way we were on install day.
Warranty and What to Expect Long-Term
Window warranties typically split into two parts: the manufacturer's warranty on the unit itself (glass seal failure, hardware defects) and the installer's warranty on the workmanship — flashing, sealing, and fit. It's worth understanding both, because most leak issues in new construction trace back to installation, not the window product, so the installation warranty is often the one that actually matters. Ask any contractor you're vetting to spell out what their workmanship warranty covers and for how long, in writing, before work starts.
Beyond warranty, plan on an annual check of exterior caulk lines and weep holes as basic maintenance — cheap, quick, and the kind of thing that prevents a small gap from becoming a bigger repair after another wet Whatcom County winter.
If you're planning a new build in the Sumas area and want windows installed correctly from the first fastener, we're happy to walk your plans or your framed openings and give you a straightforward, no-pressure estimate — just fill out the form below.