 Ferndale Roofing
 Building New in Custer? Windows Are Part of the Weather Envelope, Not an Afterthought
When you're framing a new home or addition in Custer, windows don't get installed the way they do on an older house. There's no existing siding to work around, no old caulk to scrape off, no guessing at what's behind the wall. Instead, the window goes into an open rough opening, tied directly into the weather-resistive barrier, the flashing system, and the structure itself — before siding, trim, or roofing ever cover it up. That's an advantage, but only if it's done right the first time. Once the walls are closed in, the flashing details behind a window become permanently inaccessible unless something goes wrong and water starts showing up inside.
We install new-construction windows on homes and additions throughout Custer as part of our exterior work, and we treat the window opening as one continuous system with the wall, the siding, and the roof — not as a separate trade dropped in and forgotten.
What Custer's Climate Actually Demands From a Window Installation
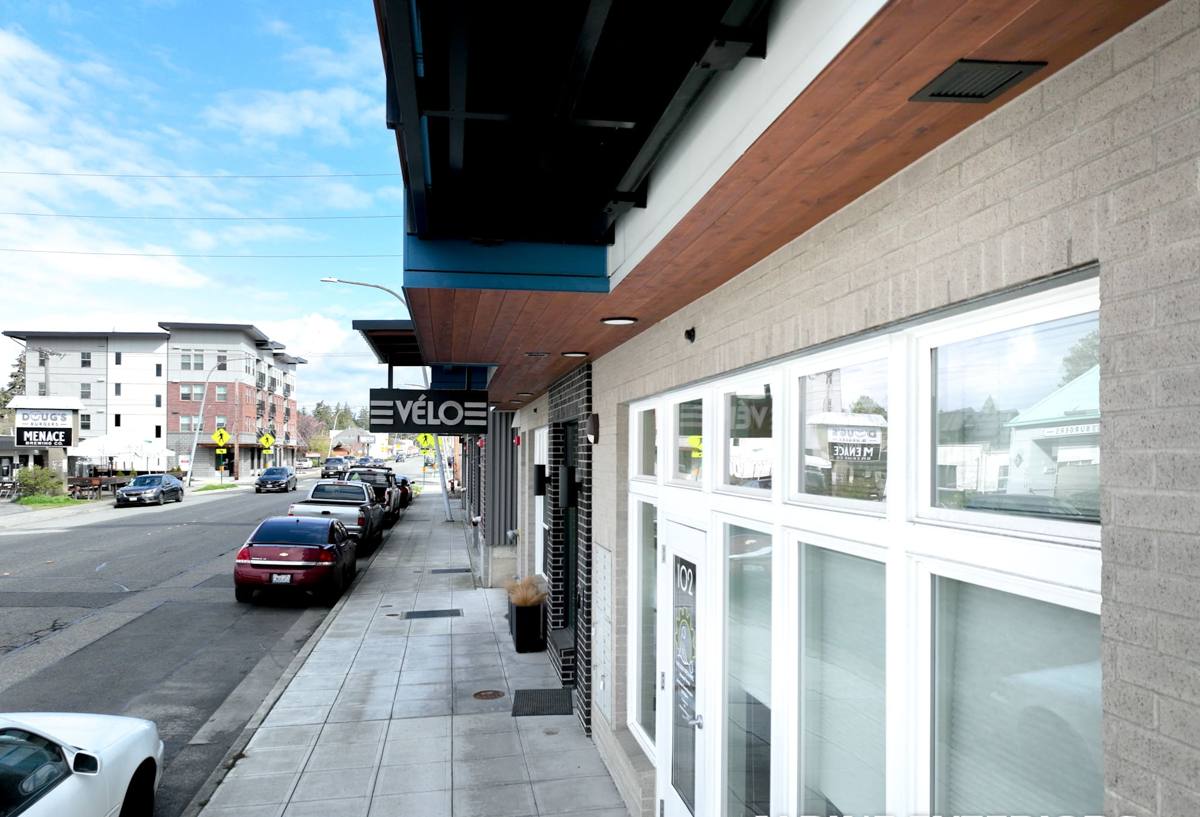
Custer sits in an exposed corner of Whatcom County, close enough to the water that salt-laden air is a regular fact of life, and open enough to farmland and coastline that wind-driven rain hits walls harder and more often than it does in more sheltered parts of the county. On top of that, the region's long, gray, wet season keeps north- and shade-facing surfaces damp for months at a stretch — which is exactly the environment moss and mildew need to take hold.
For a new-construction window installation, that combination creates three practical requirements:
- Corrosion resistance — hardware, fasteners, and frame components need to tolerate salt air without pitting or seizing up over the years.
- Positive drainage, not just sealant — wind-driven rain will find any gap that relies on caulk alone; the assembly needs a built-in path for water to escape if it gets past the outer defenses.
- Surfaces that don't trap moisture — sills, trim, and flashing details that hold water or stay shaded and damp become the spots where moss, algae, and eventually rot show up first.
None of this is exotic. It's standard best-practice window flashing, applied carefully and without shortcuts — because in Custer's climate, shortcuts show up faster than they would somewhere drier.
New-Construction vs. Replacement Windows: Why the Installation Method Matters
New-construction windows almost always have a nailing fin (or flange) around the perimeter of the frame, meant to be fastened directly to the sheathing before the wall is covered in a weather barrier and siding. That's different from a pocket or insert replacement window, which fits inside an existing frame and depends on the old flashing already in place. Building new gives us the chance to build the flashing assembly correctly from bare sheathing up — but it also means there's no old assembly to fall back on if a step gets skipped.
Nail-Fin Flashing, Shingle-Lapped Correctly
The flashing tape at the sides and top of the window needs to overlap the layer below it, the same way roof shingles overlap — so any water working its way down the wall is always directed out and over the next layer, never trapped behind it. Get the lapping order backward and you've built a pocket that funnels water into the wall instead of away from it. It's a simple rule, but it's also the single most common mistake we see corrected on new builds.
Sill Pan Drainage
Before the window ever goes into the opening, the sill should have a sloped, sealed pan — often a flexible flashing membrane formed up at the sides — so that any water that does get past the window (during a hard, wind-driven rain, it will) has a dedicated path back outside instead of soaking into the framing below. On an exposed Custer lot, this detail is not optional.
Frame Material and Glass: What Holds Up Near the Coast
New construction is also the best time to choose the right frame material, because it's being ordered to spec rather than matched to an existing opening. Here's how the common options hold up under Custer's salt air and wet-season exposure:
| Frame Material | Salt Air / Moisture Behavior | Maintenance | Best Fit |
|---|---|---|---|
| Vinyl | Won't corrode or rust; UV-stable finishes hold color well | Low — occasional rinse to keep salt film and grime off | Most Custer homes; budget-friendly, reliable performer |
| Fiberglass | Excellent — dimensionally stable, no metal parts to corrode | Low | Larger openings, higher-exposure walls, long-term owners |
| Wood-clad | Good if the cladding and flashing are detailed correctly; exposed wood needs protection | Moderate to higher — finish and seals need periodic attention | Homeowners prioritizing interior wood look, willing to maintain it |
| Aluminum | Prone to corrosion and pitting in salt air unless properly coated | Higher near the coast | Generally not our first recommendation for Custer's exposure |
We're not tied to one brand or material — we'll walk through what's right for your lot's actual exposure (a wall facing open farmland and prevailing weather needs more from its window than a sheltered south wall) and give you an honest read on trade-offs instead of steering you toward whatever's easiest to install.
Coordinating Windows With Roofing and Siding — Where Most Leaks Actually Start
As a roofing contractor that also handles new-construction window and siding work, we pay close attention to the places where these trades meet, because that's where problems actually originate. A window under a roof overhang, near a roof-to-wall intersection, or below a second-story roofline needs head flashing and, where applicable, kick-out flashing that directs roof runoff away from the wall instead of down behind the window trim. A drip cap over the window head does the same job on a smaller scale, breaking the path water would otherwise take straight down the face of the wall and into the top of the frame.
These details only work if the sequencing is right — housewrap, flashing tape, drip cap, and siding all need to go on in the correct order, with each layer lapping over the one below it. When the window crew, the siding crew, and the roofing crew aren't coordinating, this is exactly where gaps open up. Running window installation, siding, and roofing as one connected job — rather than three separate contractors working in isolation — is how we avoid that.
Meeting Washington State Energy Code and Wind Exposure on an Open Lot
New construction windows in Whatcom County need to meet Washington State Energy Code requirements for U-factor and solar heat gain, which affect both comfort and your long-term heating costs in a climate with a long heating season. On top of that, a lot with open exposure toward the coast or farmland may call for windows rated for higher design wind pressure (DP rating) than a sheltered infill lot would need — a spec detail that's easy to overlook if a window order is placed without accounting for the site's actual exposure. We check both before ordering, not after the walls are closed in.
Our New-Construction Window Installation Process
For a new build or addition in Custer, the process typically looks like this:
- Plan review and product selection — we review the window schedule with you or your builder, and select frame material, glass package, and DP rating for each opening's exposure.
- Rough opening check — verifying each opening is square, correctly sized, and properly sheathed before flashing begins.
- Sill pan installation — sloped and sealed for positive drainage at every opening.
- Window set and shim — leveled, plumbed, and fastened per manufacturer specification to protect the warranty.
- Shingle-lapped flashing — sides, then top, integrated with the housewrap in the correct order.
- Coordination with siding and roofing trim — drip caps, kick-out flashing, and trim sequenced so every layer sheds water outward.
- Interior and exterior seal check — low-expansion foam or backer rod and sealant at the interior gap, exterior sealant only where it belongs (not as a substitute for flashing).
- Final walkthrough — operation, weatherstripping, and hardware checked on every unit before we call it done.
Why a Crew That Already Works Custer Makes a Difference
Custer isn't a big town, and it doesn't have the same exposure profile as a sheltered residential lot in town or a wooded acreage further inland. A crew that's already worked the area knows which walls on a given lot take the brunt of the weather, understands the wind exposure common to open, unprotected sites near the coast, and has been through Whatcom County's permitting and inspection process enough times to keep a build moving without surprises. That local familiarity shows up in fewer callbacks and fewer details that need correcting after the siding's already up.
Get a Free, No-Pressure Estimate
If you're building new or adding on in Custer and want windows installed by a crew that treats flashing and drainage as seriously as the glass itself, we're happy to take a look at your plans and walk the site. Fill out the form below for a free estimate — no pressure, just an honest read on what your build needs.