 Ferndale Roofing
 Building New in Birch Bay Means Building for the Water
Birch Bay sits right on the exposure line — open water, prevailing wind, and a lot more wind-driven rain than homes even a few miles inland in Ferndale see on the same storm. If you're framing a new house here, the windows aren't just a finish item picked off a showroom floor. They're a water-management system that has to work with your house wrap, your sheathing, and your siding from day one, because there's no "fix it later" once the walls are closed up.
Three things define what a new-construction window install needs to survive in Birch Bay specifically: salt-laden air that speeds up corrosion on hardware and fasteners, wind-driven rain that gets pushed sideways into gaps a calm-weather install would never notice, and a long moss and algae season — our wet, mild Whatcom County winters give organic growth months to take hold on any surface that stays damp. None of that shows up on day one. It shows up in year three or four, at the flashing laps and fastener heads nobody thought twice about during framing.
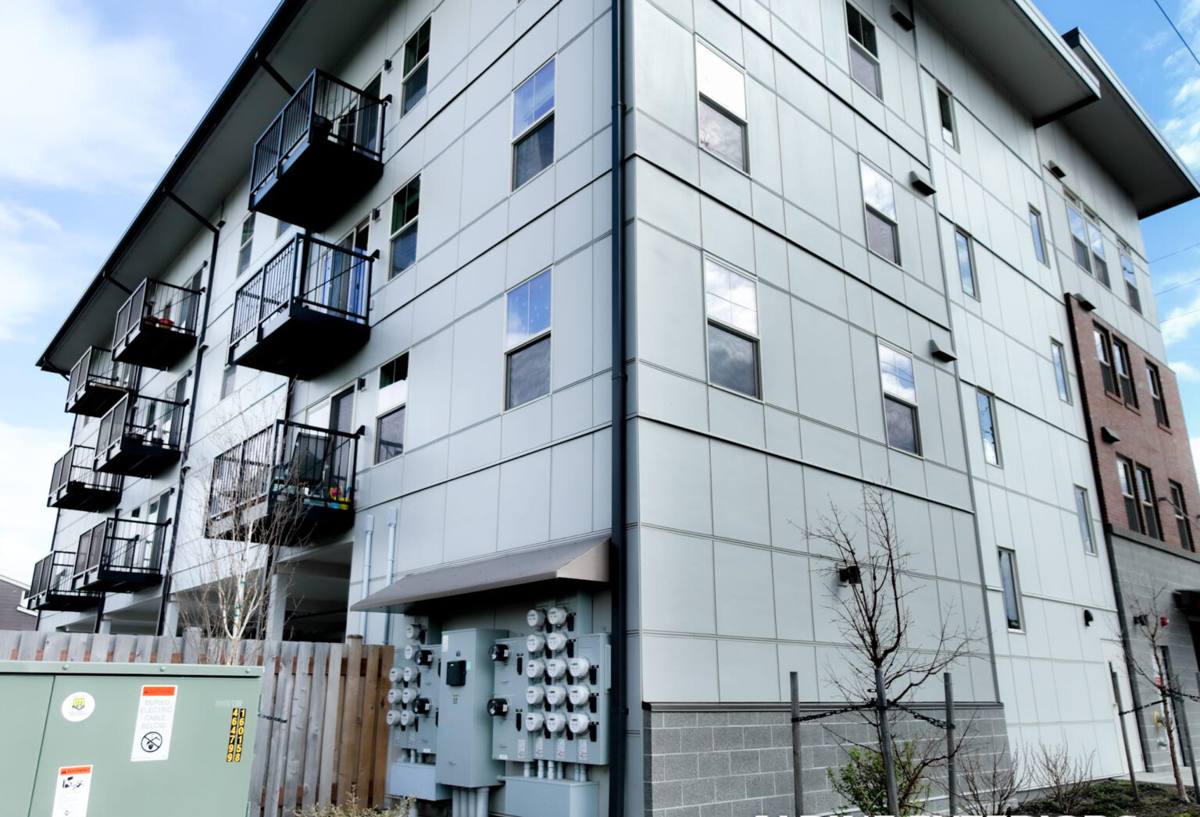
New-Construction Windows Are a Different Job Than Replacements
This matters more than most homeowners realize. A replacement window goes into an existing, already-flashed opening — the work is mostly about the window unit itself. A new-construction window is installed before the siding goes on, using a nailing flange set directly to the sheathing and integrated into the weather-resistive barrier (WRB) as part of the wall assembly. The window and the wall are built together, in sequence, and that sequence is what actually keeps water out.
Why the Install Order Matters
Get the layering wrong — WRB over the flange instead of under the head flashing, or a sill pan skipped because "the flange will handle it" — and you've built a leak path into the wall that won't announce itself until there's rot or staining behind the drywall. In a build exposed to Birch Bay's driving rain, that path gets tested every winter, not just during the odd bad storm.
What Correct Flashing and Water Management Actually Involves
There's no shortcut version of this that holds up on a waterfront-exposed build. The sequence we follow, shingle-style from the bottom up so every layer sheds onto the one below it:
- Sloped sill pan flashing at the rough opening, so any water that gets past the window has somewhere to drain — out, not into the wall cavity
- Back dam or sill pan upturn to stop water from tracking backward under the window during wind-driven rain
- Jamb flashing tape lapped over the sill pan and under the WRB
- Window set, shimmed level and square, fastened per the manufacturer's schedule — not "close enough"
- Head flashing installed last, lapped under the WRB above the window so water sheds down and over, never behind
- All flange edges sealed with compatible flashing tape or sealant — mismatched tape and housewrap chemistries can fail to bond, which defeats the whole system
On an exposed elevation facing the water, we'll often recommend going a step further with a fully adhered flashing membrane rather than mechanically fastened tape alone, simply because the wind load and rain volume are higher than a typical inland Ferndale lot.
Sill Pans Aren't Optional Here
We still see sill pans skipped on new builds, usually to save an hour of labor. In a low-exposure climate that might go unnoticed for years. In Birch Bay, with sustained wind-driven rain off the water, a window without a sloped sill pan is a matter of when — not if — bulk water finds its way past the sash and into the framing.
Choosing Frame Material and Glass for This Exposure
Frame material affects two things that matter most here: how it holds up to salt air over decades, and how much upkeep it demands to stay that way.
| Frame Type | Salt-Air / Coastal Behavior | Upkeep |
|---|---|---|
| Vinyl | Won't corrode; UV and heat cycling can affect long-term seal integrity in full sun exposures | Low — occasional cleaning |
| Fiberglass | Very stable dimensionally, strong resistance to moisture and salt exposure | Low |
| Aluminum-clad wood | Attractive, but clad joints and any exposed fasteners are the weak point in salt air — hardware corrosion risk is higher | Moderate to high; watch cladding seams |
| Bare wood | Handsome, but the least suited to sustained coastal moisture and salt exposure without diligent maintenance | High |
For most new builds in Birch Bay we steer clients toward vinyl or fiberglass for anything on a water-facing elevation, and we're straightforward about why: it's not that wood or clad-wood windows are bad products, it's that the maintenance burden and corrosion risk in this specific exposure work against them over a 20-plus year window life. If the design calls for a wood-look interior, clad options with stainless or coated hardware on the water side are worth the upcharge.
Glass and Hardware Details
Low-E glass is standard on new construction now and helps with both energy performance and condensation control through our damp winters. For hardware — hinges, locks, cranks — ask specifically about corrosion-resistant coatings or stainless components on any window facing the water. Standard-grade hardware finishes can start showing pitting within a few years in a full salt-air exposure; upgraded hardware is a small cost at install time versus a callback later.
Our Process on a Birch Bay New-Construction Job
We coordinate directly with the builder or GC so windows go in at the right point in the framing sequence — not before the rough openings are properly sized and flashed-in, not so late that the schedule forces a rushed install.
- Review the window schedule and rough opening dimensions against the actual units ordered, catching sizing mismatches before they become a framing problem
- Confirm WRB and flashing tape products are chemically compatible with each other and with the window manufacturer's install instructions
- Install sill pans, jamb flashing, and windows in the correct shingle-lap sequence
- Set and fasten each window per manufacturer spec — proper shim placement, square and plumb, correct fastener type and spacing
- Head-flash and integrate with the WRB above before siding crews start
- Walk the openings with photos documenting flashing at each stage, before it's covered by siding — useful for the builder's records and for any future warranty question
Why the Local Crew Matters More Than the Brand of Window
Whatcom County building departments and the wind/exposure requirements for a waterfront lot in Birch Bay aren't identical to what a crew working mostly in town in Ferndale deals with day to day. A crew that already works this stretch of coastline knows which elevations need the extra flashing membrane, how the local moss and algae season affects sill design and drainage, and what inspectors here are actually looking for at the rough-in stage. That's not something a general install crew picks up on their first Birch Bay job — it's something you learn by doing enough of them.
What to Confirm Before and After Your Windows Go In
- Sill pan flashing installed under every window, not just the ones facing the water
- Flashing tape and WRB brands confirmed compatible in writing, not assumed
- Head flashing lapped under the WRB above the window, never on top of it
- Fastener type and spacing match the manufacturer's installation instructions
- Hardware finish rated for coastal/salt-air exposure on water-facing units
- Photos taken of flashing details before siding covers them
- Window and installation warranty paperwork kept with your home's records
Cost Factors on a New-Construction Window Package
| Factor | Why It Moves the Price |
|---|---|
| Frame material | Vinyl is typically the most economical; fiberglass and clad-wood cost more upfront |
| Window count and size | Larger openings and picture/specialty shapes add labor and material cost |
| Glass package | Upgraded Low-E coatings or tempered glass where code requires it add cost per unit |
| Flashing detail level | Fully adhered membrane systems on exposed elevations cost more than standard tape but reduce long-term risk |
| Hardware upgrades | Corrosion-resistant hardware for water-facing units is a modest per-window upcharge |
| Site access and scheduling | Coordinating around a builder's framing schedule can affect labor efficiency |
Every new build is different, and we'd rather walk your specific plans and elevations with you than throw out a number that doesn't reflect your lot's exposure.
If you're framing a new home or ADU in Birch Bay, we're glad to look over your window schedule and rough opening details before siding goes on — early is when the flashing decisions actually get made. Reach out for a free, no-pressure estimate using the form below.