 Ferndale Roofing
 Siding Built for Life on the Water
Homes on and around Lummi Nation sit closer to salt water than almost anywhere else we work in Whatcom County. Between Bellingham Bay, Hale Passage, and the open exposure of the Lummi Peninsula, siding here takes a beating that inland Ferndale homes simply don't see. Add in the region's driving winter rain and the deep shade from mature evergreens that keeps north- and west-facing walls damp for months at a time, and you've got a climate that will find every weak point in a siding system within a few years — not a few decades.
We install James Hardie fiber cement siding exclusively, and this page walks through what that actually means for a home in this specific area: what the climate does to siding, what a correct installation looks like, and why local experience on this exact stretch of coastline matters as much as the product itself.
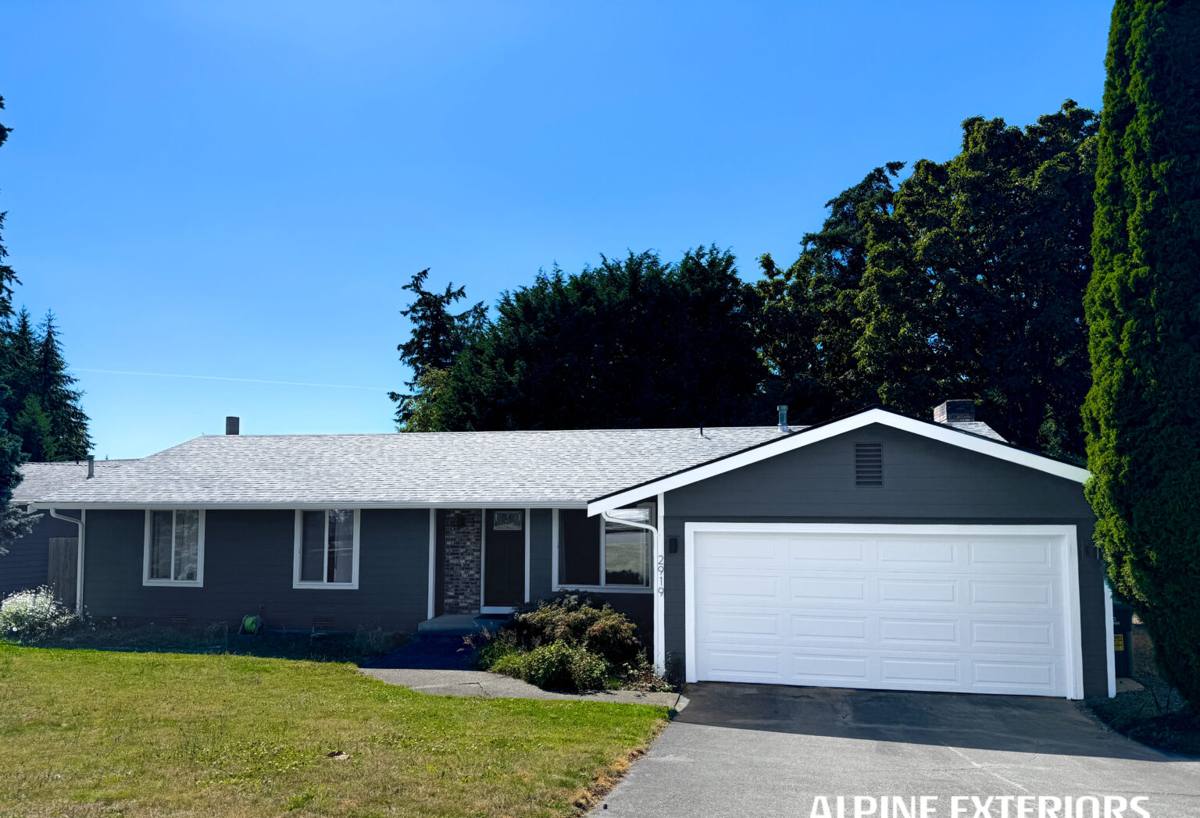
What Salt Air, Rain, and Moss Actually Do to a House
Salt Air
Airborne salt doesn't just corrode metal — it's abrasive and hygroscopic, meaning it pulls moisture out of the air and holds it against whatever surface it lands on. On wood-based sidings, that means the surface stays damp longer between rain events, which accelerates rot at seams, fastener heads, and butt joints. On paint and coatings, salt exposure speeds up chalking and fading, especially on south- and west-facing elevations that also catch the most sun.
Driving Rain
Storms coming off the water don't fall straight down — they hit siding at an angle, which pushes water into laps, seams, and trim junctions that would stay dry in a calmer climate. This is why lap overlap, flashing details, and caulking choices matter more here than they would on a sheltered inland lot. A siding job that's "good enough" for a dry climate often isn't good enough for a waterfront-adjacent one.
Moss and Sustained Dampness
Tree cover across Lummi Nation and the surrounding peninsula keeps a lot of exterior walls shaded most of the day. Combined with our long wet season, that shade means some siding surfaces almost never fully dry out between November and April. Moss and algae take hold in exactly those conditions — first as surface staining, then, on organic siding materials, as a moisture reservoir that keeps feeding rot underneath.
Why We Only Install James Hardie Fiber Cement
We don't install vinyl, LP SmartSide, primed spruce, cedar, or other fiber cement brands, and that's a deliberate standard, not a lack of options. In a climate defined by salt, moisture, and shade, the material matters as much as the workmanship:
- Non-combustible core — fiber cement doesn't feed a fire the way wood-based sidings can, which matters in a region where wildfire smoke seasons have grown longer.
- Engineered for wet Pacific Northwest exposure — Hardie's HZ5 product line is formulated specifically for climates like ours, with moisture and freeze-thaw performance that generic siding isn't built around.
- Factory-applied ColorPlus finish — baked-on color resists the fading and chalking that salt air accelerates on field-painted surfaces, and it doesn't need repainting on the same schedule wood siding does.
- Dimensionally stable — fiber cement doesn't swell, cup, or warp with repeated wet-dry cycling the way wood and some composite products can.
- Doesn't feed organic growth — moss and algae can sit on the surface, but they aren't feeding on the material underneath the way they can with wood.
None of that means fiber cement is maintenance-free or immune to moss staining — nothing exposed to this climate is. It means the material itself isn't the thing failing when conditions get harsh, which puts the pressure back where it belongs: on correct installation.
What a Correct Installation Actually Involves
Most siding failures we get called out to replace weren't caused by bad material — they were caused by installation shortcuts that don't show up as a problem for a few years. On a home exposed to salt air and driving rain, those shortcuts show up faster.
Weather Barrier and Flashing First
Before a single piece of siding goes up, the wall needs a continuous water-resistive barrier, correctly lapped and taped, with flashing integrated at every window, door, and horizontal trim break. This is the layer that actually keeps water out of the wall assembly — the siding is the second line of defense, not the only one.
Clearances and Gaps
James Hardie specifies minimum clearances between the bottom of the siding and roofing, decks, walkways, and grade — typically 1 to 2 inches depending on the detail — plus a gap at every butt joint and trim edge that gets properly caulked or flashed rather than jammed tight. Skipping these clearances is one of the most common causes of rot at the bottom courses of a wall, and it's invisible until the damage is already done.
Fastening
Fiber cement needs to be fastened per the manufacturer's schedule — correct nail or screw type, correct placement relative to the panel edge, and driven flush without overdriving, which can crack the material or compromise its ability to move slightly with temperature changes.
Field Cuts and Caulking
Every field cut exposes raw fiber cement that needs to be sealed or primed before installation, and every joint that isn't a shiplap or factory edge needs a quality sealant rated for exterior movement — not a bead of whatever caulk was left in the truck.
Our Process, Start to Finish
- Walk and assessment — we look at existing siding condition, moisture entry points, trim and flashing details, and sun/shade exposure on each elevation before quoting anything.
- Tear-off or overlay decision — where existing siding is holding moisture against the sheathing, we recommend full tear-off so we can inspect and repair what's underneath, not just cover it up.
- Weather barrier and flashing installation — the part of the job that determines whether the siding lasts, done before any siding goes up.
- James Hardie installation to spec — correct clearances, fastening schedule, and field-cut sealing throughout.
- Trim, caulking, and final detail work — the joints and transitions that take the brunt of driving rain get the closest attention.
- Walkthrough — we go over the finished work and basic care with the homeowner before we consider the job done.
Signs Your Current Siding Is Already Struggling
A lot of siding damage in this area develops behind the surface before it's visible from the yard. Worth checking for:
- Soft or spongy spots when you press on siding, especially near the bottom courses
- Paint that's bubbling, peeling, or chalking heavily on sun- and salt-exposed walls
- Persistent moss or dark staining concentrated at butt joints and horizontal seams
- Visible gaps or separation at trim boards and window casings
- Streaking or discoloration just below seams, which often points to water tracking behind the siding rather than just sitting on top of it
- Warping, cupping, or boards that no longer sit flat against the wall
Any one of these on its own isn't necessarily an emergency, but they're worth having looked at before the next wet season rather than after.
What Drives the Cost of a Siding Installation
| Factor | Why It Matters Here |
|---|---|
| Tear-off vs. overlay | Full removal costs more up front but lets us find and fix hidden moisture damage common on salt-exposed walls |
| Square footage and home height | More wall area and multi-story access both add labor time |
| Trim and architectural detail | Homes with more corners, gables, and trim transitions need more flashing and cutting work |
| Existing sheathing condition | Rot repair discovered during tear-off is a real cost variable, especially on north- and shade-facing walls |
| Product line selection | HZ5-engineered panels and premium ColorPlus finishes cost more than base options but perform better in this climate |
| Site access | Waterfront and rural lots can add setup and material staging time compared to a standard in-town lot |
Why Local Experience on This Coastline Matters
A crew that mostly works dry, sheltered subdivisions inland will make different assumptions than a crew that's used to salt exposure and shaded, moss-prone walls. That shows up in small decisions — how tight a butt joint gap is left, whether a flashing detail gets extra attention at a water-facing corner, how clearance is handled above a lower roof. None of those are things a homeowner can easily inspect after the siding is up, which is exactly why they matter before it goes up.
Working regularly on homes across Ferndale and the surrounding Whatcom County coastline, including Lummi Nation, means these details aren't guesswork — they're the standard approach on every job, because the climate here doesn't leave much room for shortcuts.
After Installation: What Upkeep Actually Looks Like
James Hardie siding, installed correctly, is genuinely low-maintenance compared to wood — but "low-maintenance" isn't "no-maintenance" in a climate like this. A periodic rinse to keep salt residue and moss spores from building up, an eye kept on caulked joints over the years, and prompt attention to any gutter or roof issues that could dump extra water onto a wall will keep a correctly installed system performing the way it's designed to for decades.
If you're weighing a siding replacement on a home in the Lummi Nation area, we're happy to take a look and walk you through what we'd actually recommend for your specific walls and exposure — no pressure, no generic sales pitch. Reach out below for a free estimate.