 Ferndale Roofing
 Building New in Lummi Nation? The Windows Deserve as Much Attention as the Roof
When a home on Lummi Nation is framed up and ready for windows, that's the moment that decides how the building performs for the next 30-plus years. New-construction windows aren't dropped into an existing opening the way a replacement unit is — they're built into the wall assembly itself, tied into the house wrap, the sheathing, and eventually the siding and trim. Get that sequence wrong on a site this close to Bellingham Bay and the Strait of Georgia, and you're not looking at a small fix later. You're looking at rot behind the trim, stained sills, and windows that leak in every hard southwest blow.
We work on roofs and exteriors across Whatcom County, and new-construction window openings are one of the places where roofing and window trades overlap the most — the head flashing above a window has to work with the same water-shedding logic as a roof-to-wall detail. That's the lens we bring to a new build in Lummi Nation.
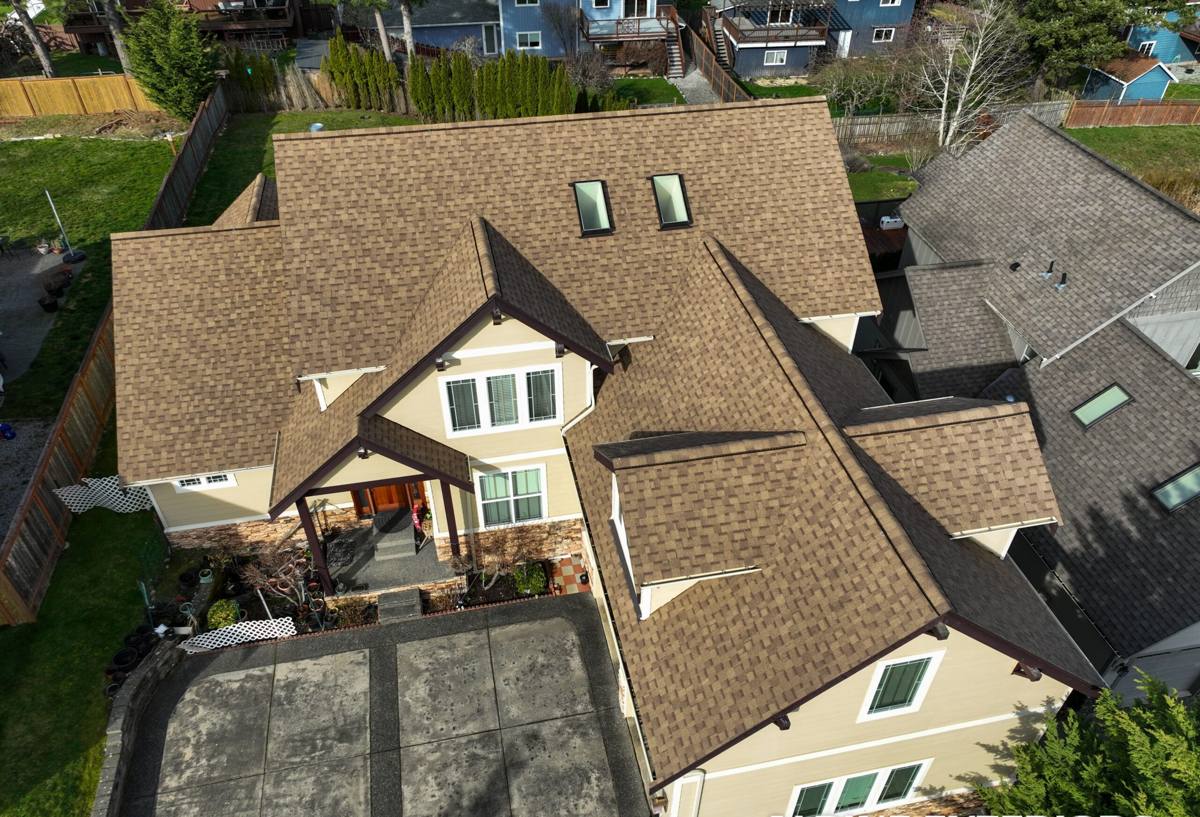
What "New-Construction" Windows Actually Means
Nail-Fin vs. Block Frame
Most new-construction windows use a nailing fin — a flange around the perimeter of the frame that gets flashed and fastened directly to the sheathing before siding goes on. This is different from a block-frame or "insert" window, which is sized to fit inside an existing finished opening without disturbing the exterior wall covering. On a new build, the nail-fin approach is almost always the right call because it lets the window become part of the water-resistive barrier system from the start, rather than being sealed in after the fact.
Why This Isn't a Replacement-Window Job
A lot of window crews are set up for replacement work — measure the old opening, order an insert, caulk it in. That skill set doesn't automatically transfer to new construction. On a new build, the window installer has to coordinate with the framer, the house-wrap installer, and eventually the siding crew, and every layer has to lap correctly so water sheds outward and down, never inward. Rushing this stage, or treating it like a replacement job, is where most future leaks start.
What Lummi Nation's Climate Actually Demands From a Window
Lummi Nation sits right against the water, which means the building envelope here deals with a specific combination of stresses that inland Whatcom County homes see less of:
- Salt-laden air that accelerates corrosion on unprotected fasteners, hardware, and some metal flashing over time.
- Wind-driven rain off the bay and strait, which pushes water sideways and upward into gaps that would stay dry in a calmer inland setting.
- A long, damp moss season that keeps north- and shade-facing walls wet for extended stretches, which is hard on any window detail that traps moisture instead of shedding it.
- Temperature swings between marine-layer mornings and clearer afternoons, which stresses sealants and frame materials over repeated cycles.
None of this means a window installation on Lummi Nation needs to be exotic or overbuilt. It means the ordinary details — fastener choice, flashing laps, sealant selection, and frame material — need to be picked deliberately for this exposure rather than defaulted to whatever's standard for a drier inland lot.
Material Options and How They Actually Hold Up Here
Every window material has trade-offs. Framed honestly, here's how the common choices compare for a coastal Whatcom County build:
| Material | Salt-Air Behavior | Maintenance | Typical Fit for Lummi Nation |
|---|---|---|---|
| Vinyl | Won't corrode; UV and heat can affect long-term stability | Low — occasional cleaning | Good value option for most elevations |
| Fiberglass | Very stable dimensionally, holds paint/finish well near salt air | Low to moderate | Strong choice for exposed, water-facing walls |
| Wood-clad | Cladding protects wood, but any breach lets moisture reach the core | Higher — finish and seal upkeep | Fine on protected elevations with real maintenance commitment |
| Aluminum | Conducts cold and can pit or corrode without proper coatings | Moderate | We generally steer away from it on directly exposed, high-humidity walls |
We're not against any of these materials outright — we're honest about which ones ask more of the homeowner in upkeep, and which ones are more forgiving if maintenance slips for a season or two. On a fully exposed wall facing the water, that forgiveness matters more than it does on a sheltered elevation.
The Flashing and Water-Management Details That Actually Matter
The window unit itself is rarely where a new-construction leak starts. The flashing sequence around it is where jobs succeed or fail. A correct installation follows a strict shingle-lap order so every layer sheds water onto the layer below it, never behind it:
- Sill pan flashing installed first, sloped to drain outward, with back and end dams to stop water from migrating inward.
- Window set into the opening, checked for level, plumb, and square before a single fastener goes permanent.
- Jamb flashing applied over the side nailing fins.
- Head flashing installed last, lapping over the top nailing fin and integrated with the house wrap above it.
- House wrap taped and lapped over all flashing edges in the correct shingle order — never taped in a way that traps water behind the window.
- Sealant used at the right joints only — sealant is a backup to good flashing geometry, not a substitute for it.
On a home this close to the water, we pay particular attention to the head flashing and how it ties into whatever is happening above it — a roof eave, a second-story wall, or a porch roof. That intersection is exactly the kind of roof-to-wall detail we deal with constantly on the roofing side of our work, and it's often the first place a driving rain event finds a weakness.
Our New-Construction Window Process
For a Lummi Nation build, our process generally runs like this:
- Plan review and rough-opening check — confirming window sizes and opening dimensions against the actual framed openings before ordering, not just the plan set.
- Material and product selection — matched to the wall's sun and wind exposure, not a single default spec for the whole house.
- Coordination with the framer and siding crew — so the window install lands at the right point in the build sequence, after sheathing and house wrap, before siding closes it in.
- Installation following the flashing sequence above — sill pan, unit set, jamb flashing, head flashing, house-wrap integration.
- Fastening and shimming — enough shims at the right points to prevent frame distortion, with corrosion-resistant fasteners appropriate for a salt-air environment.
- Final check — operation, seal, and squareness confirmed before the crew moves to the next opening.
Common Mistakes We See (and Build Our Process Around Avoiding)
Most window problems on new builds trace back to a short list of shortcuts. Before you sign off on a window install — ours or anyone else's — it's worth checking for these:
- Sill pan flashing skipped or improvised with caulk alone instead of a proper sloped pan.
- House wrap taped over the nailing fin in the wrong order, sending water behind the flashing instead of over it.
- Fasteners driven through the frame at the wrong points, causing the unit to bow and bind.
- Windows set out of square "close enough," which strains hardware and weakens the seal over time.
- Standard fasteners used where corrosion-resistant hardware was called for near a salt-air exposure.
- Sealant relied on to do the job that flashing geometry should be doing.
What Affects the Cost
New-construction window costs vary by project, but the main drivers are consistent from job to job:
| Factor | Why It Matters |
|---|---|
| Number and size of openings | More and larger units mean more material and labor hours |
| Frame material | Vinyl is typically the most affordable; fiberglass and wood-clad cost more upfront |
| Glazing package | Higher-performance glass for wind and thermal exposure adds cost but reduces long-term issues |
| Wall exposure | Fully exposed, water-facing walls may warrant upgraded flashing details and materials |
| Access and building stage | Coordinating install timing with framing and siding crews affects scheduling and labor |
| Custom shapes or sizes | Non-standard openings require custom units, which cost more than stock sizes |
We'll walk through these factors specific to your plans during an estimate rather than quoting a number sight unseen — a small home with a handful of standard openings and a large home with expansive water-facing glass are very different jobs.
Why Local Lummi Nation Experience Actually Matters
A crew that's worked new construction in this specific area brings a few things a general contractor from farther inland won't automatically have:
First, familiarity with how exposed this stretch of shoreline actually gets in a real southwest storm, versus what a spec sheet says on paper. Second, an understanding that permitting and inspection requirements can differ depending on whether a project falls under Whatcom County's process or Lummi Nation's own building and permitting authority — we coordinate with whichever applies to your specific project rather than assuming one process fits every build in the area. Third, simply having done this enough times locally to know which details are worth upgrading on a water-facing wall and which are fine as standard practice.
None of that replaces a careful, by-the-book installation. But it does mean fewer surprises mid-build and a crew that isn't learning the local climate on your project.
Timing It Right During Your Build
Windows have a narrow window (no pun intended) in the construction schedule — too early and the rough opening isn't ready; too late and it holds up siding, interior work, and weather-tightness of the whole structure. We coordinate directly with your builder or general contractor to slot the window install at the right point after sheathing and house wrap are in place, so the building gets dried in as early as reasonably possible. On a site exposed to Whatcom County's wet season, minimizing the time a framed structure sits open to the weather is worth planning around.
If you're planning a new build or an addition on Lummi Nation and want windows installed with the flashing and material choices this exposure actually calls for, we're happy to take a look at your plans and walk the site. Reach out for a free, no-pressure estimate — the form below gets you started.