 Ferndale Roofing
 Building New on Lummi Island Means Building for the Water
Lummi Island sits out in the salt water of Whatcom County, and that changes what "correct" window installation means. A new-construction window package that works fine in a subdivision twenty miles inland can fail early out here — not because the windows themselves are bad, but because the install didn't account for what the island throws at a building envelope every single winter. We install new-construction windows on homes around Ferndale and on Lummi Island, and the two jobs are not the same job. The island version has to be tighter, better flashed, and built with materials that tolerate salt exposure without babysitting.
This page is specifically about new-construction window installation for Lummi Island homes — new builds and additions where the windows go into a bare rough opening for the first time, not swap-outs into an existing wall. That distinction matters more than most homeowners realize, and we'll explain why below.
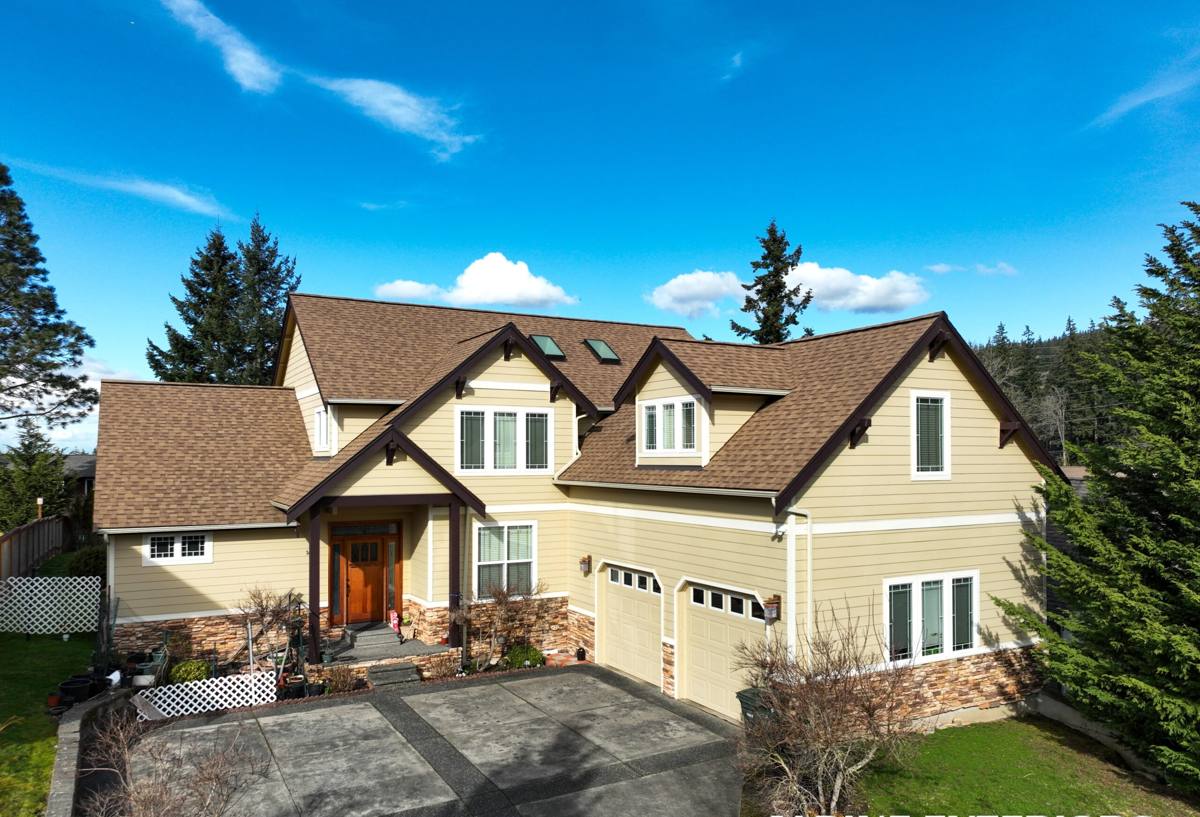
What Salt Air, Driving Rain, and Moss Season Do to Windows
Three things define the Lummi Island building climate, and all three are harder on windows than a typical inland Whatcom County lot:
Salt Air
Airborne salt off the Salish Sea settles on every exterior surface, including window frames, hardware, and fasteners. Over years, it accelerates corrosion on anything that isn't genuinely marine-rated — cheap screws, bare steel components, and some lower-grade aluminum finishes. It also breaks down certain sealants and gaskets faster than they'd wear inland.
Driving Rain
Wind off open water doesn't just drop rain straight down — it pushes it sideways, into siding, trim, and window flanges. A window that's caulked instead of properly flashed will eventually let water behind the frame, and once that happens the damage is happening inside the wall where nobody sees it until there's rot or drywall staining.
Moss Season
Whatcom County's wet season runs long, and shaded or north-facing walls on Lummi Island stay damp longer than sunnier exposures. Moss and algae take hold on sills, trim, and anywhere water sits instead of shedding. That's mostly a maintenance and appearance issue for the window itself, but it's a real durability issue for the wood trim and sill details around it if they're not detailed to drain.
What a Correct New-Construction Window Install Actually Involves
New-construction windows are installed with a nailing fin directly into the rough opening before siding goes on, which means the install crew is building the water-management system for that opening — not just setting a window. Get this stage wrong and no amount of good caulking later will fix it.
Flashing and Water Management
Every opening needs a sill pan to catch and redirect any water that gets past the window, plus properly lapped flashing tape at the sides and head so water sheds outward and downward at every layer, shingle-style. On a Lummi Island exposure facing open water or prevailing weather, we treat this step as non-negotiable — it's cheap insurance against a very expensive problem later.
Air and Water Sealing at the Frame
The gap between the window frame and the rough opening gets sealed with the right combination of backer rod, sealant, and sometimes low-expansion foam — never packed solid with foam alone, which can bow the frame and cause the window to bind or leak.
Fastener and Hardware Choices
On a marine-exposed build, we use corrosion-resistant fasteners and hardware rated for coastal use, not the standard-grade hardware that's fine on a sheltered inland lot. It costs a little more up front and saves a lot of grief in five years.
Frame Material Selection
Not every window product is a good fit for salt air and constant moisture. We steer new-construction Lummi Island projects toward frame materials and finishes with a track record of holding up to coastal exposure, and we'll tell you honestly if a product a homeowner is considering is going to be high-maintenance in this environment before it goes in the wall, not after.
Comparing Window Frame Materials for a Lummi Island New Build
| Frame Material | Salt Air / Coastal Performance | Maintenance | Typical Fit |
|---|---|---|---|
| Vinyl | Good — won't corrode; UV and coastal-grade formulations hold up well | Low | Budget-conscious new builds, most window openings |
| Fiberglass | Very good — dimensionally stable, resists warping from moisture swings | Low | Larger openings, higher-exposure walls, long-term owners |
| Aluminum | Fair — needs marine-grade finish or it corrodes and pits over time | Moderate | Modern architectural styles where it's specified for looks |
| Clad Wood | Good on the exterior clad face, but wood core is vulnerable if cladding is ever breached | Moderate to high | Homeowners who want a wood interior look and are willing to maintain it |
We don't push one material on every project — the right call depends on the wall's exposure, the home's design, and the owner's tolerance for upkeep. What we won't do is install a product on a high-exposure Lummi Island wall that we know is going to need constant attention just to look decent after a few winters.
Our New-Construction Window Process
- Site and plan review — we look at the building plans or the framed openings, note exposure direction and wind/rain load for each wall, and flag any openings that need extra flashing detail.
- Product selection — we walk through frame material, glass package, and hardware options suited to a marine climate, with honest trade-offs on cost and maintenance.
- Delivery and staging — for island jobs, we plan material delivery and ferry logistics as part of the schedule so the crew isn't waiting on materials mid-install with an open wall.
- Installation — sill pan, flashing tape, window set plumb and square, fastening per manufacturer spec, air/water sealing at the frame.
- Inspection and documentation — we check every opening before siding closes it up, since flashing mistakes are far cheaper to fix before the wall is finished than after.
- Walkthrough — operation, hardware, and basic care review with the homeowner or builder before we call the job done.
Why a Crew That Already Works Lummi Island Matters
Building on an island changes the logistics of every job, not just the technical side. Materials, crew, and equipment all have to cross by ferry, which means the schedule has to account for sailing times and limited daily capacity — a crew that doesn't plan for that can burn a full day just getting set up. We already build that into our scheduling because we work the island regularly, so a new-construction window job doesn't turn into a stop-and-start project waiting on the next available crossing.
There's also a site-knowledge piece. A wall facing open water on Lummi Island takes a different amount of wind-driven rain than a similarly oriented wall in downtown Ferndale, and a crew that's actually flashed openings out here knows which walls need the extra layer of protection and which don't. That's not something you can fully get from a spec sheet — it comes from having done the work in this specific place, in this specific weather, more than once.
Cost Factors to Plan For
| Factor | Why It Matters on Lummi Island |
|---|---|
| Frame material | Fiberglass and coastal-rated vinyl cost more than standard-grade product but need less upkeep in salt air |
| Number and size of openings | More and larger openings mean more flashing detail work, which is labor-intensive to do correctly |
| Wall exposure | Walls facing open water or prevailing wind need extra flashing and sealing steps that sheltered walls don't |
| Delivery logistics | Ferry scheduling and limited daily crossings can affect how material delivery is timed and staged |
| Glass package | Higher-performance glass (better U-factor, coatings) costs more but pays off in Whatcom County's wet, mild-but-drafty winters |
We'll walk through these factors specific to your plans during the estimate rather than quoting a number before we've seen the openings — every new build is different, and a real quote has to reflect your actual site and exposure.
A Pre-Install Checklist for New Construction
- Confirm rough opening sizes match window order specs before delivery, not after
- Verify wall exposure direction so extra flashing detail can be planned for high-exposure walls
- Choose frame material with salt-air exposure and long-term maintenance tolerance in mind, not just upfront cost
- Coordinate delivery timing with ferry schedules if the project is on the island
- Confirm sill pan and flashing tape products are on-site before the crew starts, not ordered mid-job
- Plan siding installation to follow immediately after window flashing is inspected, so openings aren't exposed to weather longer than necessary
- Ask your contractor for hardware and fastener specs — confirm they're rated for coastal/marine exposure
If you're planning a new build or addition on Lummi Island, or anywhere around Ferndale and Whatcom County, we're glad to walk your plans and give you a straight, no-pressure estimate on the window package — just fill out the form below.