 Ferndale Roofing
 New-Construction Windows for Bellingham Builds
If you're framing a new home or addition in Bellingham, the windows you choose and how they're installed will decide how that building performs for the next 30-plus years. New-construction windows are a different job than a replacement — the window goes in before the siding, before the trim, and often before the weather-resistive barrier is fully lapped. Get that sequence wrong and you won't see the problem for a few years, until water starts finding its way into the wall cavity. Get it right, and the window becomes part of a sealed, drained system that can handle what Whatcom County weather throws at it.
Ferndale Roofing Co works new-construction window installs alongside builders and homeowners throughout Bellingham and greater Ferndale. This page covers what's actually involved, what the local climate demands, and what to look for in a crew doing this work on your build.
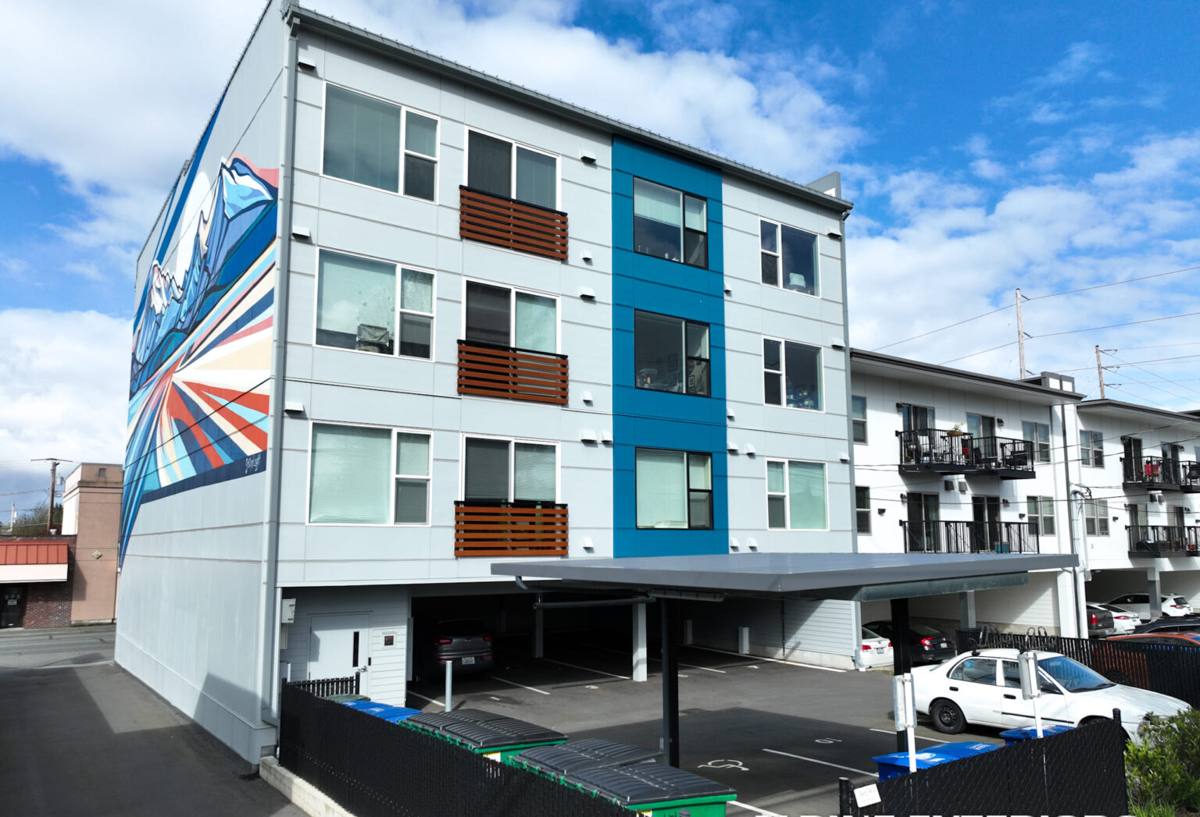
What Bellingham's Climate Does to a Window Opening
Bellingham sits close enough to the water that salt-laden air is a real factor in material selection and hardware longevity — not just a coastal-town cliché. Add in Whatcom County's long stretch of driving, wind-pushed rain each fall and winter, and a moss and mildew season that runs longer here than in drier parts of the state, and you've got an opening that gets tested constantly.
- Salt air: accelerates corrosion on fasteners, hinges, and cheaper window hardware, and can degrade certain metal finishes faster than inland installations.
- Driving rain: wind-driven rain doesn't fall straight down — it gets pushed sideways into the wall assembly, which means flashing laps and sill pans have to be built for water moving at an angle, not just gravity.
- Moss and prolonged damp: extended periods of moisture on sills, trim, and cladding around the window opening create ongoing conditions for rot and mildew if drainage and gaps aren't detailed correctly.
None of this means a window opening in Bellingham needs to be exotic. It means the basics — flashing order, drainage path, material selection — have to be done correctly every time, because the margin for a shortcut is smaller here than in a drier inland climate.
What a Correct New-Construction Install Actually Involves
Flashing and Weatherproofing, in the Right Order
New-construction windows have a nailing flange that gets integrated directly into the wall's weather-resistive barrier (WRB) system. The sequence matters as much as the materials:
- A sloped sill pan is built or installed first, so any water that gets past the window has somewhere to drain — out, not into the framing.
- Side flashing tape is applied over the sill pan and up the jambs.
- The window is set, leveled, and fastened per the manufacturer's instructions.
- Head flashing goes on last, lapping over the top of the side flashing — never tucked under it — so water sheds down and out at every layer.
- The WRB (housewrap or building paper) is lapped over the head flashing in the same shingle-style order, maintaining a continuous drainage plane down to the foundation.
Skip a step, reverse a lap, or use a flashing tape that isn't compatible with the WRB, and you've built a pathway for water to get behind the cladding instead of off it.
Fit and Structural Integration
A new-construction window also has to be square, plumb, and shimmed correctly in the rough opening — not just flashed well. A window that's racked even slightly can bind, fail to seal at the sash, or stress the glass unit prematurely. We check:
- Rough opening dimensions against the window's actual size, with proper clearance for shimming — not a tight force-fit
- Level, plumb, and square before any fasteners go permanent
- Shim placement at load points so the frame doesn't bow under fastening pressure
- Continuous, gap-free insulation and air sealing between the frame and rough opening (not just spray foam sprayed in and forgotten)
- Interior sealant and exterior sealant that are compatible with both the window frame material and the adjacent trim or cladding
Choosing the Right Window Frame for a Bellingham Build
There's no single "best" frame material for every project — it depends on budget, the home's design, and how much long-term maintenance the owner wants to take on. Here's how the common options hold up in a marine climate like Bellingham's:
| Frame Material | Coastal/Marine Durability | Maintenance | Typical Cost Position |
|---|---|---|---|
| Vinyl | Good — won't corrode or rot; UV-stable finishes hold up well | Low — occasional cleaning | Lower to mid |
| Fiberglass | Very good — dimensionally stable, resists moisture and salt exposure | Low | Mid to higher |
| Wood-clad | Depends on the cladding and sealant detail — the wood interior needs the exterior clad seal to stay intact | Higher — cladding seams and interior wood need periodic inspection | Higher |
| Aluminum | Prone to corrosion in salt air unless properly finished/anodized | Moderate | Varies |
For most Bellingham new-construction projects, vinyl and fiberglass frames offer the most straightforward long-term performance against salt exposure and driving rain, without the ongoing upkeep that wood-clad units require in a wetter climate. Wood-clad is still a reasonable choice on the right project — it just needs realistic expectations about maintenance.
Glass Packages
Double-pane, low-E glass with argon gas fill is standard on most new builds in this region and performs well against Whatcom County's mix of damp winters and mild summers. Look at the window's NFRC label for U-factor (heat loss) and Solar Heat Gain Coefficient rather than relying on marketing language — those two numbers tell you how the glass will actually perform in our climate, not a generic national average.
Our Process for New-Construction Window Installs
- Plan review and coordination: we look at the window schedule and framing plans and coordinate timing with your builder or GC so windows go in at the right point in the build sequence.
- Rough opening check: before any window is set, we verify openings are sized, square, and flashed with a sill pan ready to receive the unit.
- Install: windows are set, leveled, shimmed, and fastened per manufacturer specifications — not "close enough."
- Flashing and WRB integration: flashing tape and WRB are lapped in the correct shingle order around every opening.
- Interior and exterior sealing: air sealing on the interior, weather sealant on the exterior, matched to the cladding and trim details.
- Final walkthrough: we check operation, seal, and fit on every window before we call the job done.
Cost Factors for New-Construction Window Projects
Every build is different, so we don't quote broad numbers until we've seen the plans, but these are the variables that move the price up or down:
| Factor | Why It Affects Cost |
|---|---|
| Number and size of openings | More windows and larger units mean more material and labor |
| Frame material | Vinyl, fiberglass, and wood-clad carry different unit costs |
| Glass package | Upgraded low-E coatings, argon fill, or specialty glass (tempered, sound-reducing) add cost |
| Access and building stage | Windows installed early in framing are typically more efficient than working around finished siding or scaffolding |
| Trim and interior finish scope | Whether we're also handling interior/exterior trim work around the openings |
Why a Local Crew Matters on a New-Construction Job
Window installation quality is invisible for years — the mistakes show up as staining, soft trim, or a musty smell well after the drywall's painted and the punch list is closed out. A crew that works Bellingham and Ferndale regularly has already seen how driving rain off the water and Whatcom County's long damp season expose weak flashing details, and builds accordingly instead of using a generic installation approach pulled from a drier region.
We also work regularly with local builders and know how to fit into a framing schedule without becoming the bottleneck — which matters when a new-construction timeline has multiple trades stacked back to back.
What to Verify Before You Sign Off on a New-Construction Window Job
- Sill pan flashing installed and sloped to drain, before the window ever goes in
- Flashing tape and WRB lapped in correct shingle order (bottom to top, never reversed)
- Window checked for level, plumb, and square before final fastening
- Shims placed at manufacturer-specified load points, not just wherever felt right
- Continuous air sealing between frame and rough opening on the interior side
- Exterior sealant compatible with both the window frame and adjacent cladding
- NFRC label reviewed for U-factor and Solar Heat Gain Coefficient, not just a general "energy efficient" claim
- Manufacturer's written installation instructions followed and kept on file for warranty purposes
If you're planning a new build or addition in Bellingham and want a straight answer on window options, sequencing, or budget, we're glad to walk the plans with you. Reach out for a free, no-pressure estimate using the form below.